About Paul Williamson

Paul is the lead operator of the Colab laser.

Print Scale Factor

During class last night, it seemed like everything we printed was coming out a bit bigger than we intended. After class I tracked this down to a setting in the CorelDraw print dialog. On the Layout tab, you can control “Image position and size” for the print. By default, it is set to “As in document”, so what you drew is what you get. You can also choose “Fit to page” or “Reposition images to”, and with the latter setting, you can set a scale factor, or even separate scale factors for horizontal and vertical. Somehow the scale factor got set to 1.16, which makes everything print 16% bigger than drawn.

This is a useful feature to know about. But please, if you use a feature like this, try to remember to set it back to the default before you go, to avoid causing problems for the next user.

Two Inkscape Quirks

Recently Jon ran into two problems printing to Retina Engrave 3D from Inkscape. We don’t understand all the ins and outs, but there would appear to be some bugs somewhere. I’ll describe the symptoms and the workarounds we found. Maybe that will be helpful if you happen to run into similar problems.

Problem 1 manifested as missing vector objects. That is, some of the stuff that was drawn in Inkscape mysteriously didn’t make it onto RE3D’s vector screen. What we found was that one of the vectors had been drawn with partial transparency. That is, its A (alpha) setting on the Stroke Paint tab of the Fill and Stroke palette was set to a value other than 255. Apparently this made that vector block out other objects in its vicinity from being printed.

Problem 2 was that the raster screen in RE3D only showed part of the drawing. In this instance, a yellow vector rectangle had been drawn around the entire drawing with the express purpose of forcing the raster and vector screens to have the same extent (a useful trick that allows you to print subsets of your drawing and keep everything in perfect alignment). However, the vector rectangle was being ignored for raster purposes, even though it showed up on the vector screen. A workaround for this was to fill the rectangle with yellow, and move it all the way to the back of the drawing so it didn’t interfere with any of the other raster data.

So, if you use Inkscape:

  1. Don’t use transparency in drawings for the laser, and
  2. Fill objects you need to see on the raster screen.

Class scheduled for Tuesday, September 29th

Another session of the basic operation and safety training class has been scheduled for Tuesday, September 29, starting at 6:30pm. The class is free, and once you’ve completed the class you’ll be eligible to sign up for time on the laser, which is also free for art and personal projects.

The class starts with 90 minutes or so of classroom instruction, which is followed by practical hands-on exercises in the laser room. The laser room is small, so enrollment is strictly limited. Email class@colaser.org to sign up for your spot in the class.

This will very likely be the last class before YOUtopia, so if you have a project in mind for the regional event, this class is for you!

Engraving Henna Patterns

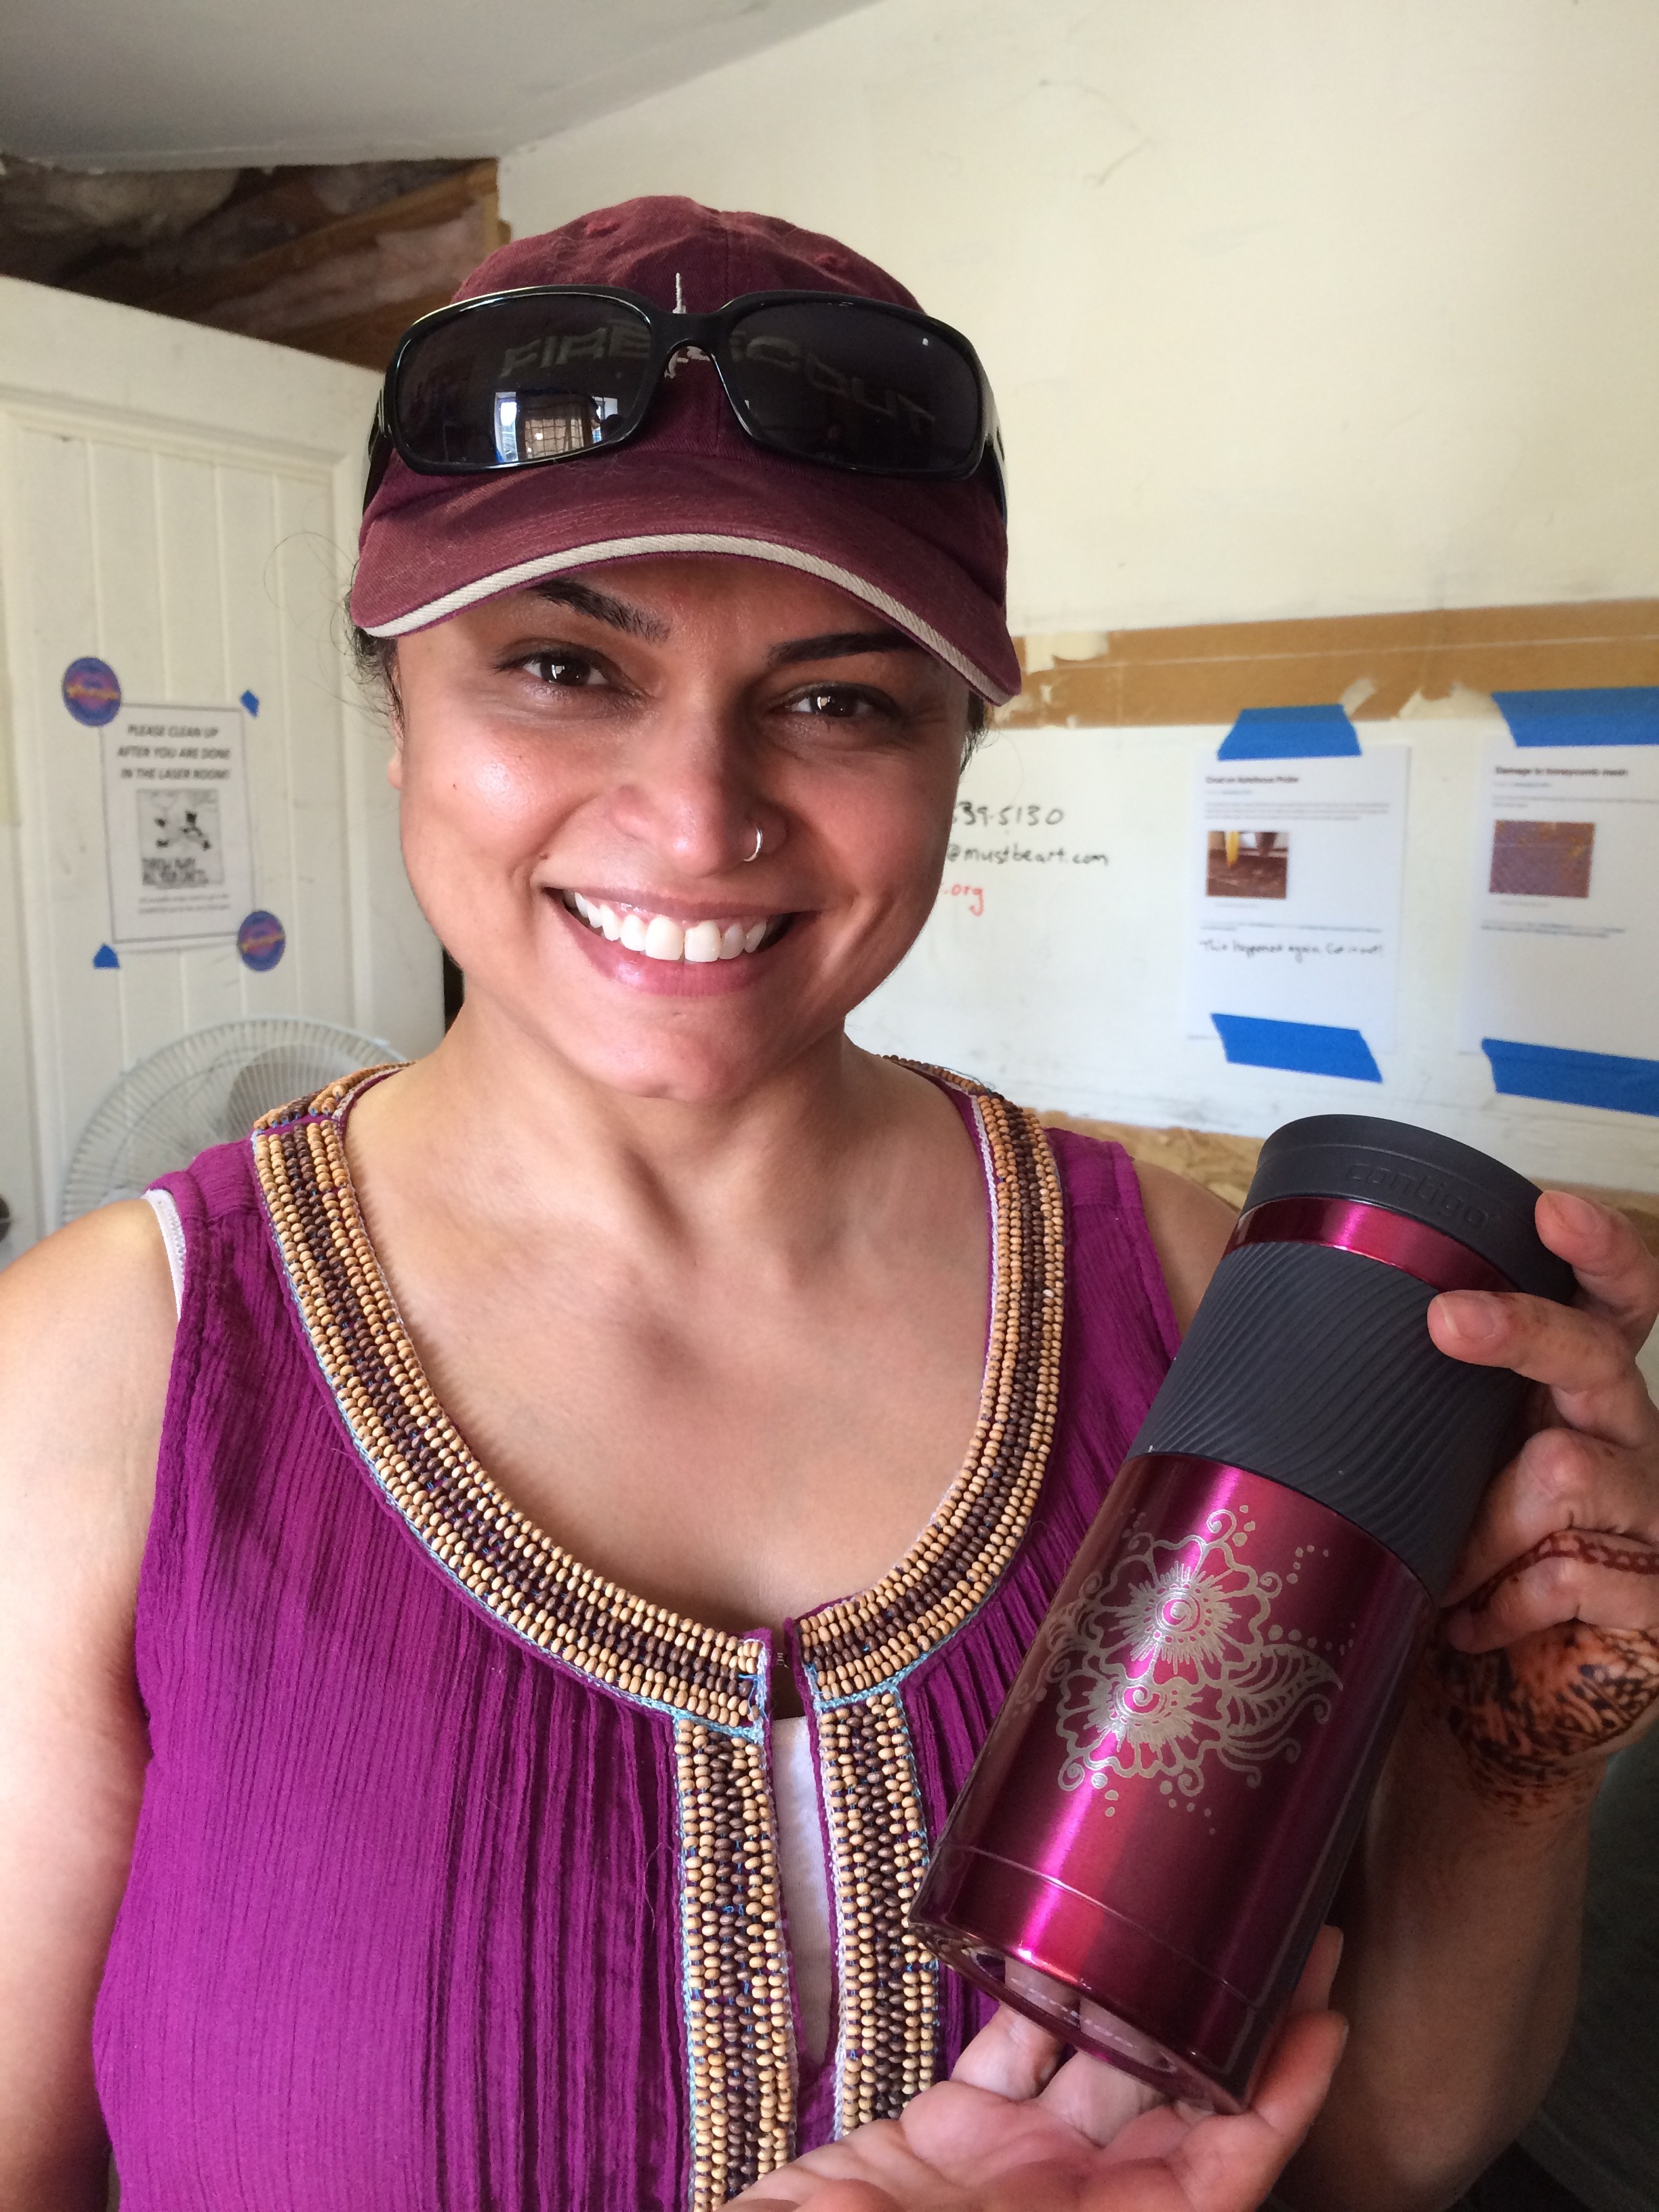
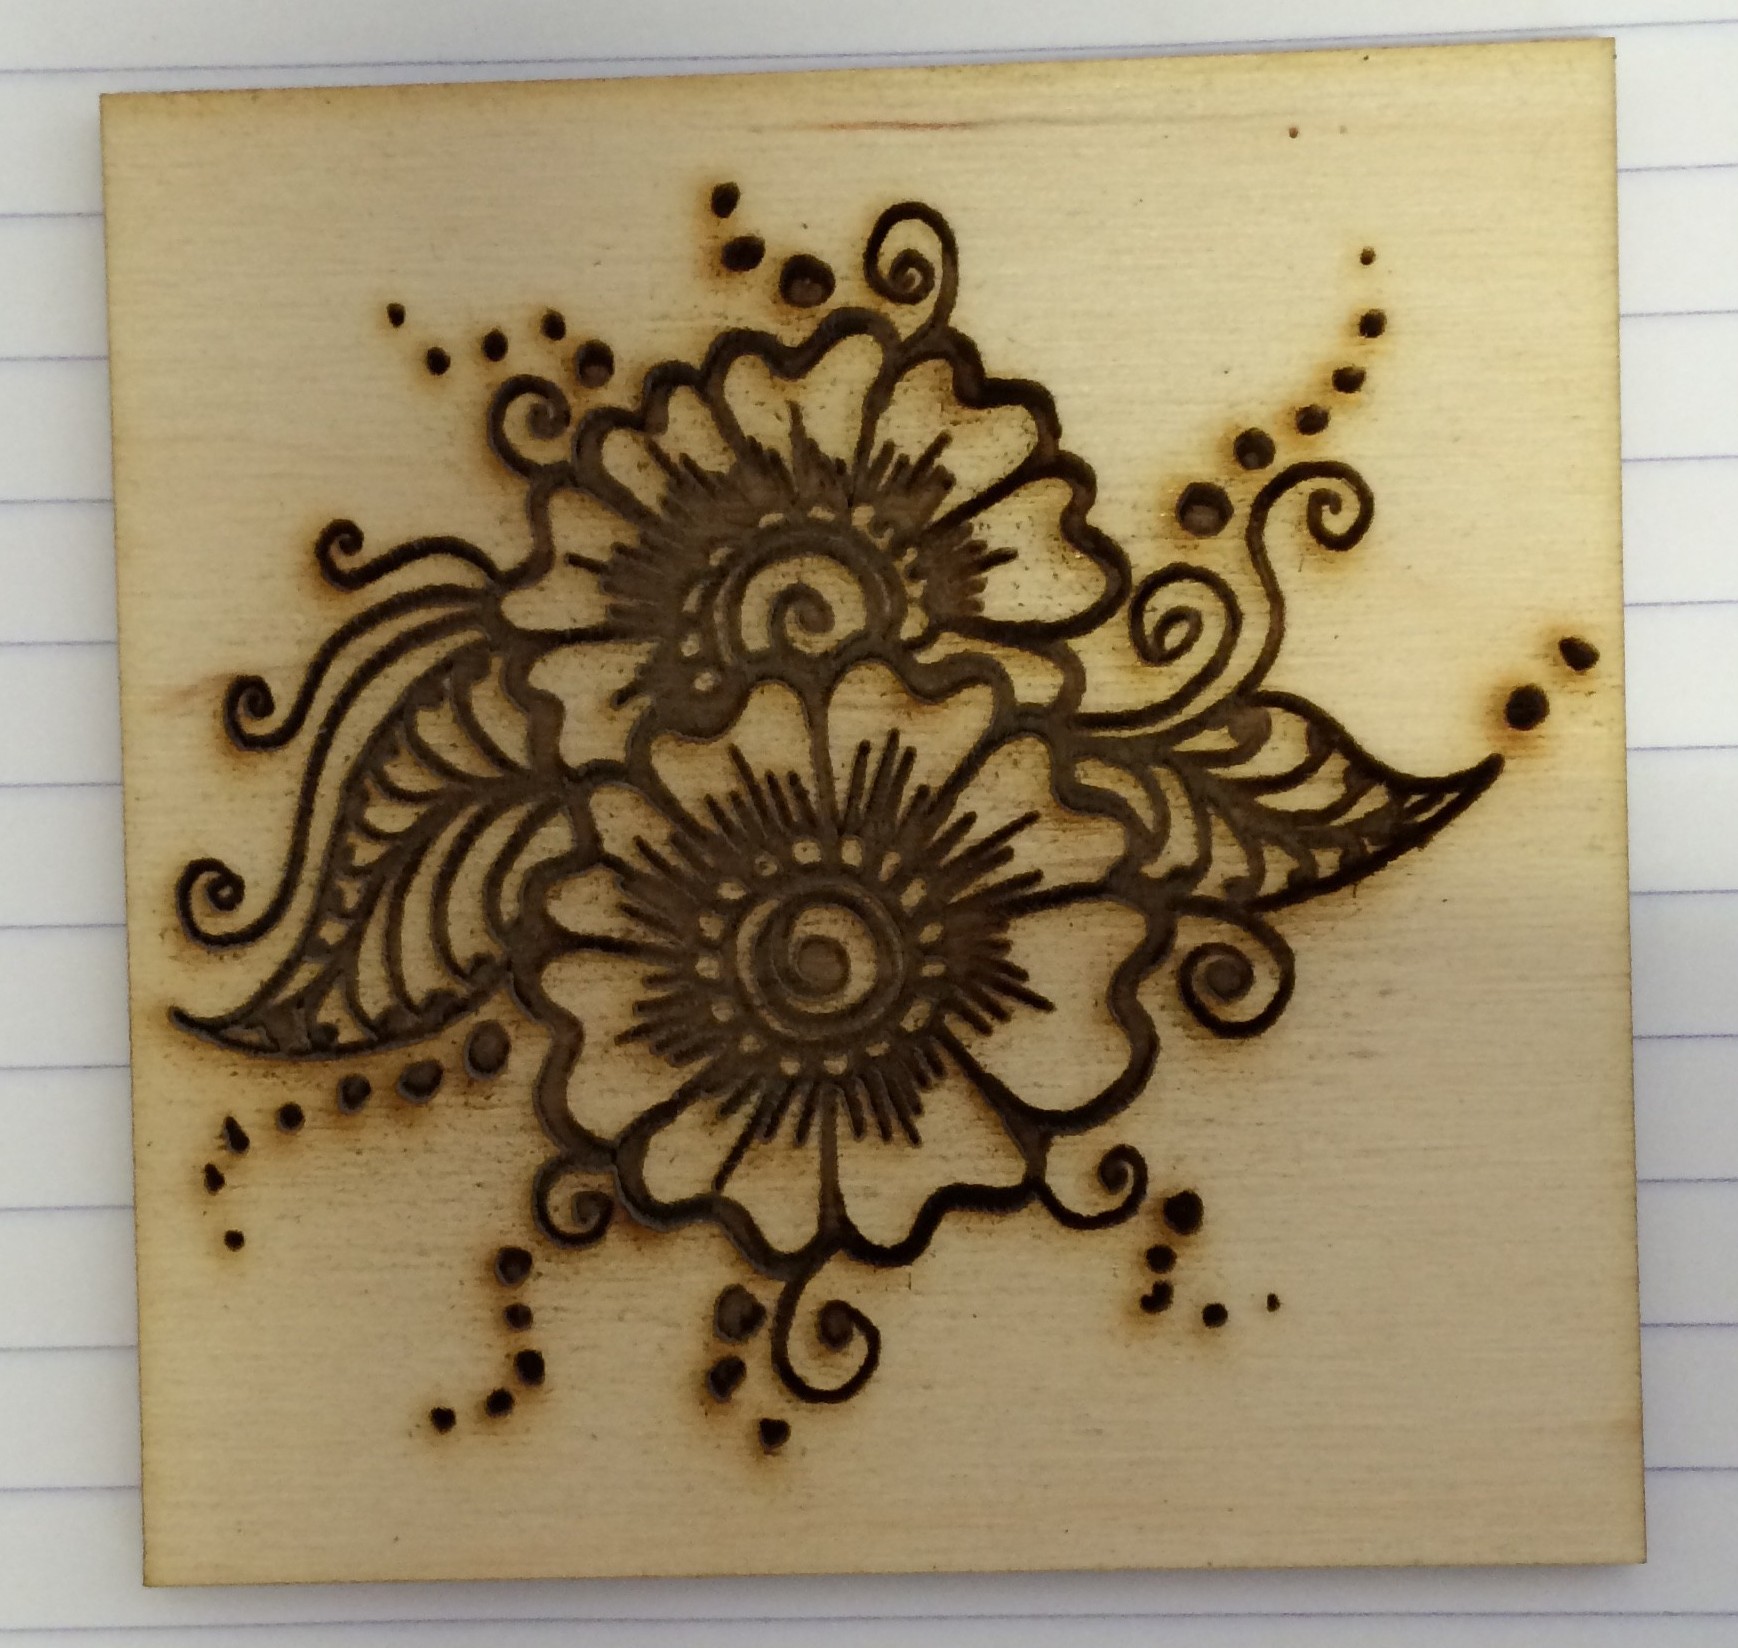
At a recent class, Sonie had the idea to search the web for henna patterns. We found lots of great art that’s perfect for raster engraving on the laser.

Sonie showing off her anodized aluminum water bottle with the henna pattern freshly engraved on the rotary adapter.

Sonie showing off her anodized aluminum water bottle with the henna pattern freshly engraved on the rotary adapter.

Henna pattern engraved on plywood

Henna pattern engraved on plywood

Classes May 31 and June 1

Basic laser operation and safety classes are scheduled for Sunday afternoon, May 31, at 1pm and Monday evening, June 1, at 6pm.

Please email me class@colaser.org to reserve your place in either session of the class. Because the laser room is small, the class size is limited to 6. Let me know which class you’d prefer and whether you could attend the other class if your preferred class is already full.

Expect about 90 minutes in the classroom, followed by practical hands-on exercises in the laser room. Once you complete the class, you’ll be able to schedule time on the laser to do your own projects.

Engraving Tiles

I found some very inexpensive 3″×6″ ceramic tiles at Home Depot. These. They have a nice glossy black finish and they only cost 26 cents each. I decided to try to engrave them. I was hoping to be able to blast cleanly through the black glaze and reveal the bright white ceramic underneath. It didn’t exactly work out that way.

Here are pictures of my results. The upper left tile is blank. The one below it has been vector engraved at two different power levels. The three on the right have been raster engraved at varying speeds and powers.

0002

The raster engraving never did reveal any clean tile. The bluish tint I believe came from the blue paper towel I used to wipe away the ceramic dust after engraving.

0004

Below is a close-up view of the lower power vector effort. It’s pretty clean, but the line is wide and not very deep. The lighting for this photograph makes it look brighter than it really is. 0002-2

Here’s an angled close-up of the higher power vector attempt.

0008

The material bubbled up and created a mess above the plane of the glaze. Here I’ve made some attempt to scrape it away, but the result is still not clean at all.

You can buy tiles that are designed to be laser engraved. These cheap tiles from the hardware store are no substitute.

Engraving Slate (with a jig)

I found some slate coasters on the bargain shelf at Jo-Ann the other day, and tried laser engraving them. The results were pretty good! See the photo gallery below.

I first tried vector engraving some text. This worked nicely. The engraved line was wider than we usually see on wood or acrylic, but that just made the letters more legible. Full power and full speed seemed to work as well as anything. Slowing it down just made the letters look a little sloppier, without making them much deeper. It also noticeably warmed up the whole coaster.

My first raster engraving test was again at full power and full speed, at the lowest resolution (252 dpi). It successfully changed the color of the surface, except for a few tiny spots that were still black. It didn’t create any relief I could feel, though, just a subtle texture change. Turning the speed way down did create lots of relief, and I ended up choosing a setting midway between those two for a moderate amount of relief. Fine interior details were squeezed out by the greater effective line width; that could have been compensated for in the artwork.

This material reacts to the laser in ways I haven’t seen before. When hit with vectors, some of the material seems to melt and form thin glass-like bubbles above the surface. They easily wipe away with a paper towel, exposing the carved letters. When hit with the raster, though, the excess material appears in the form of very fine white dust. Much of the dust is deposited on the surface. Because of the ventilation air flow, all the dust ends up toward the rear of the engraving. The dust is easily wiped off. I didn’t see any evidence of the dust getting into the laser’s optics.

Whether vector or raster engraved, the lasered areas are lighter in color than the rest of the surface. I don’t know exactly why. The black surface removed by the laser might be the result of natural aging, or it might be a factory-applied treatment. It might also have something to do with the rougher texture of the lasered surfaces. It will be interesting to see what color the engraved areas are after some time passes.

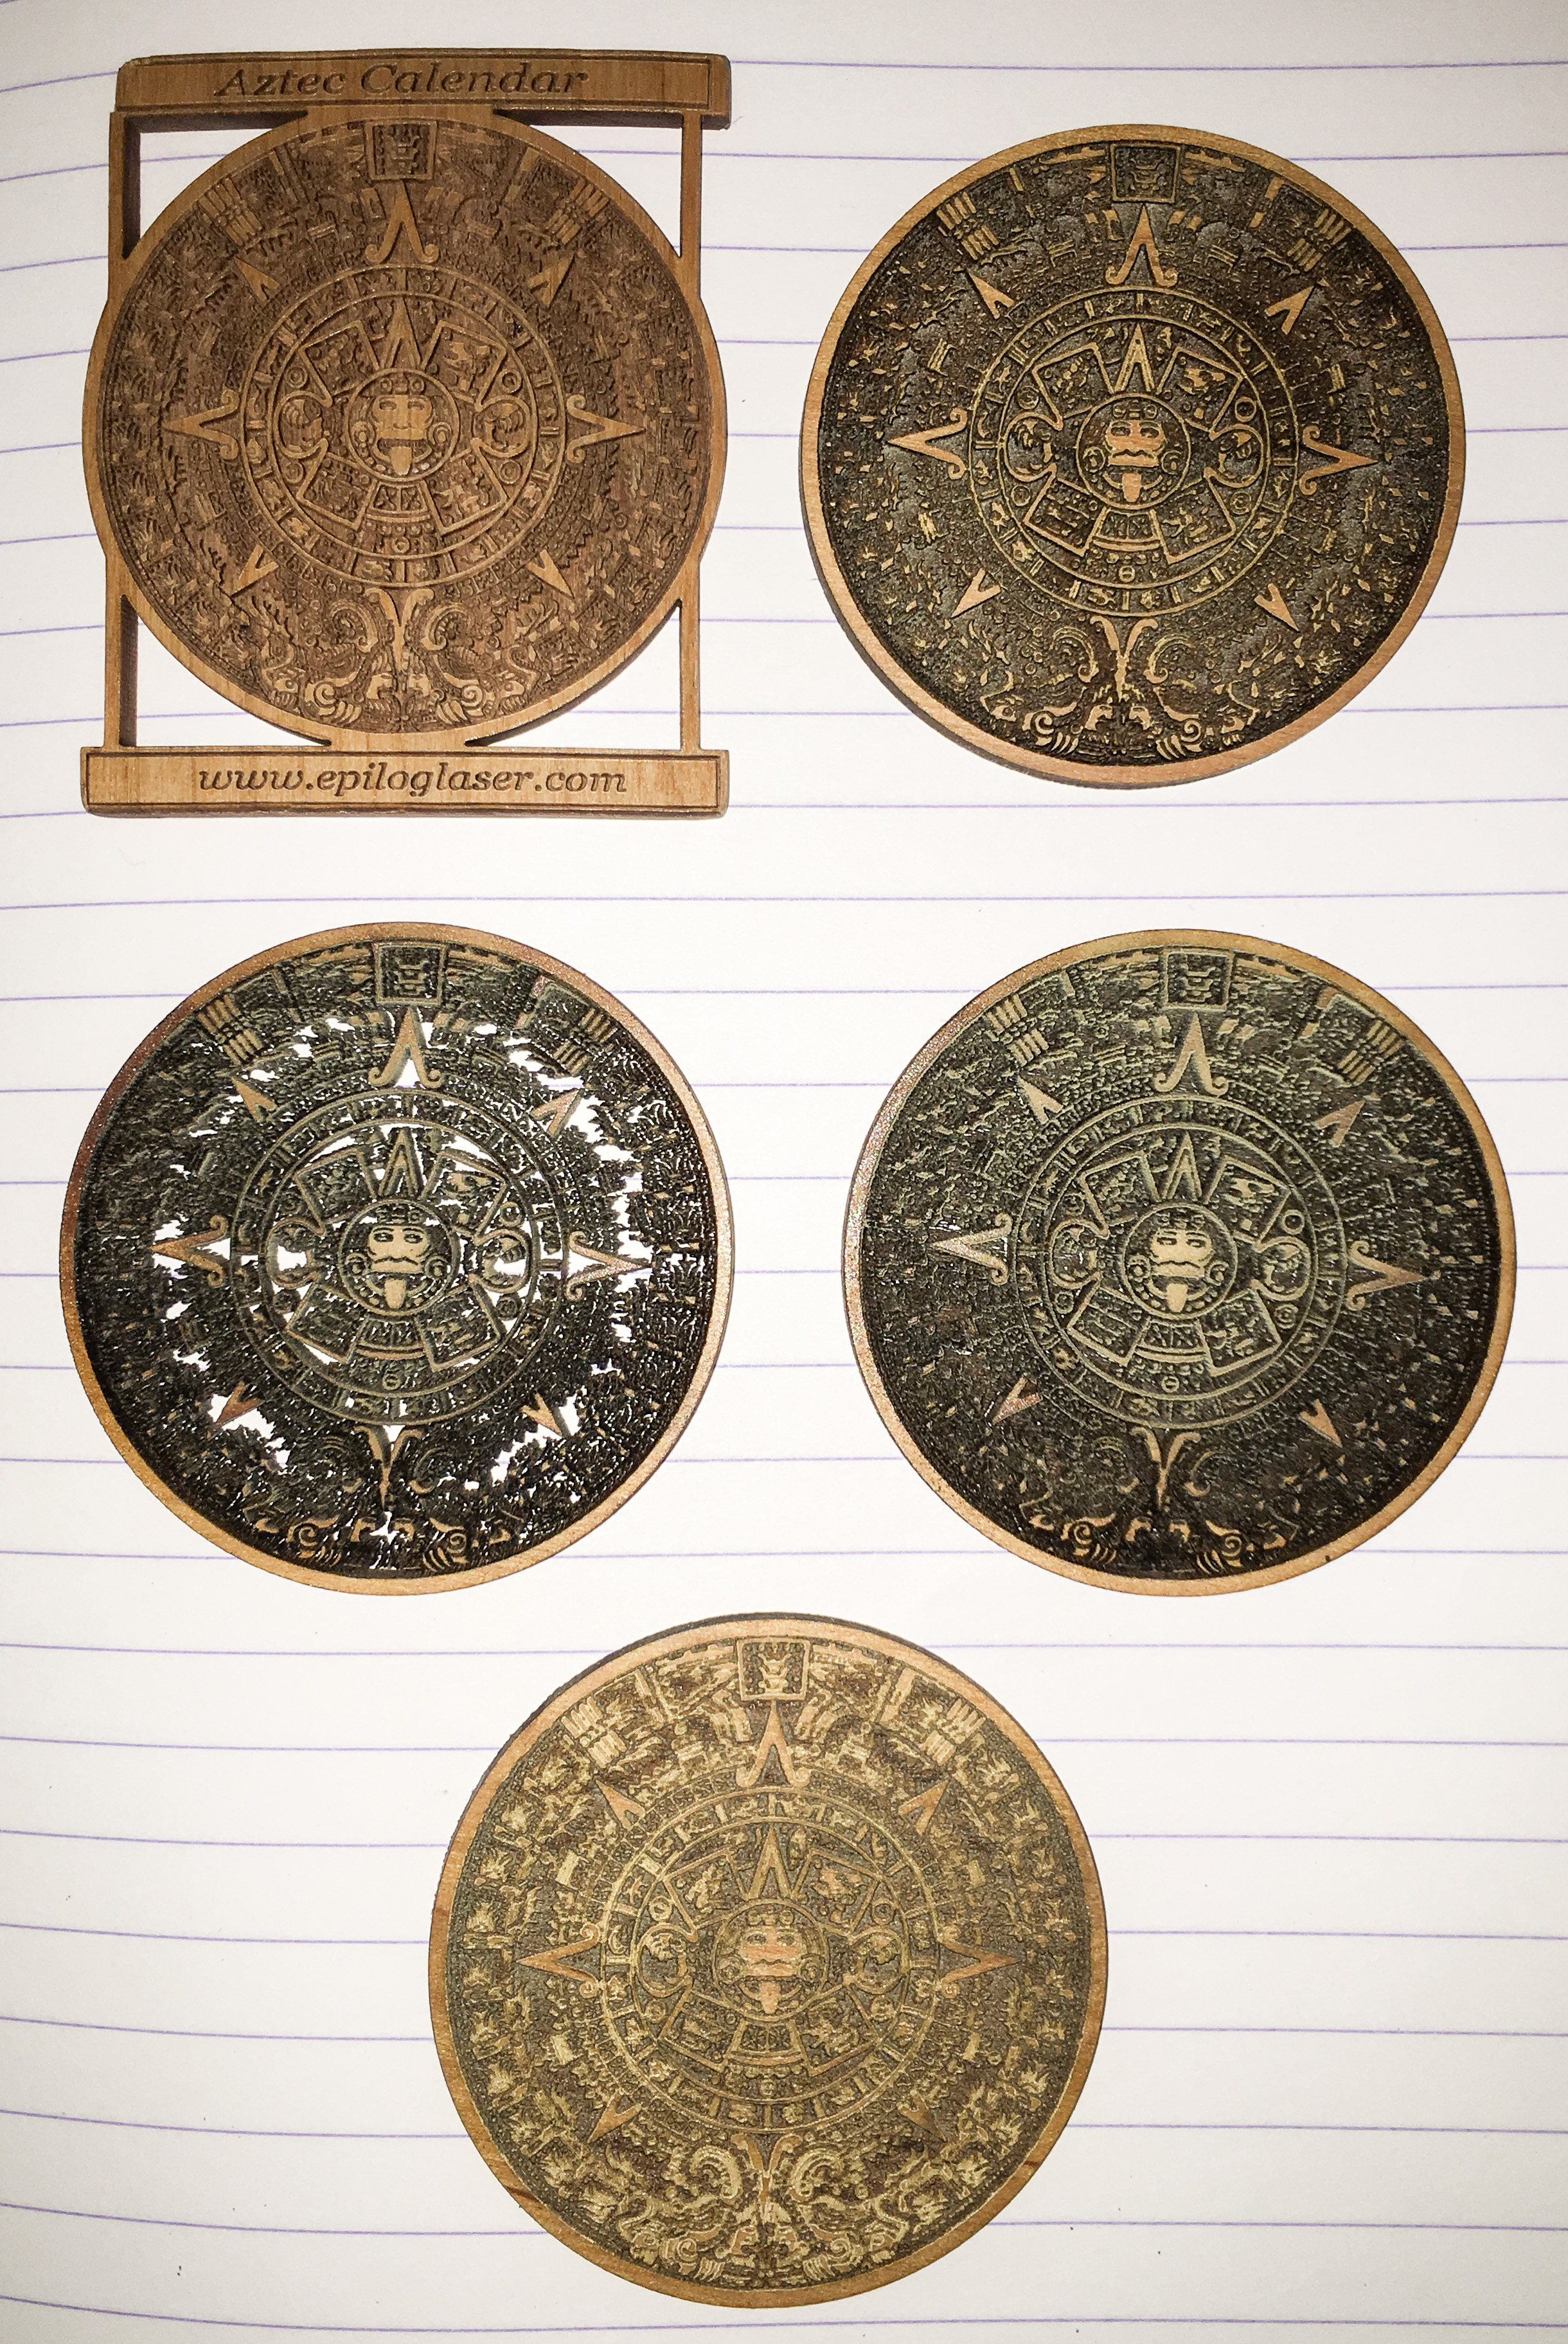
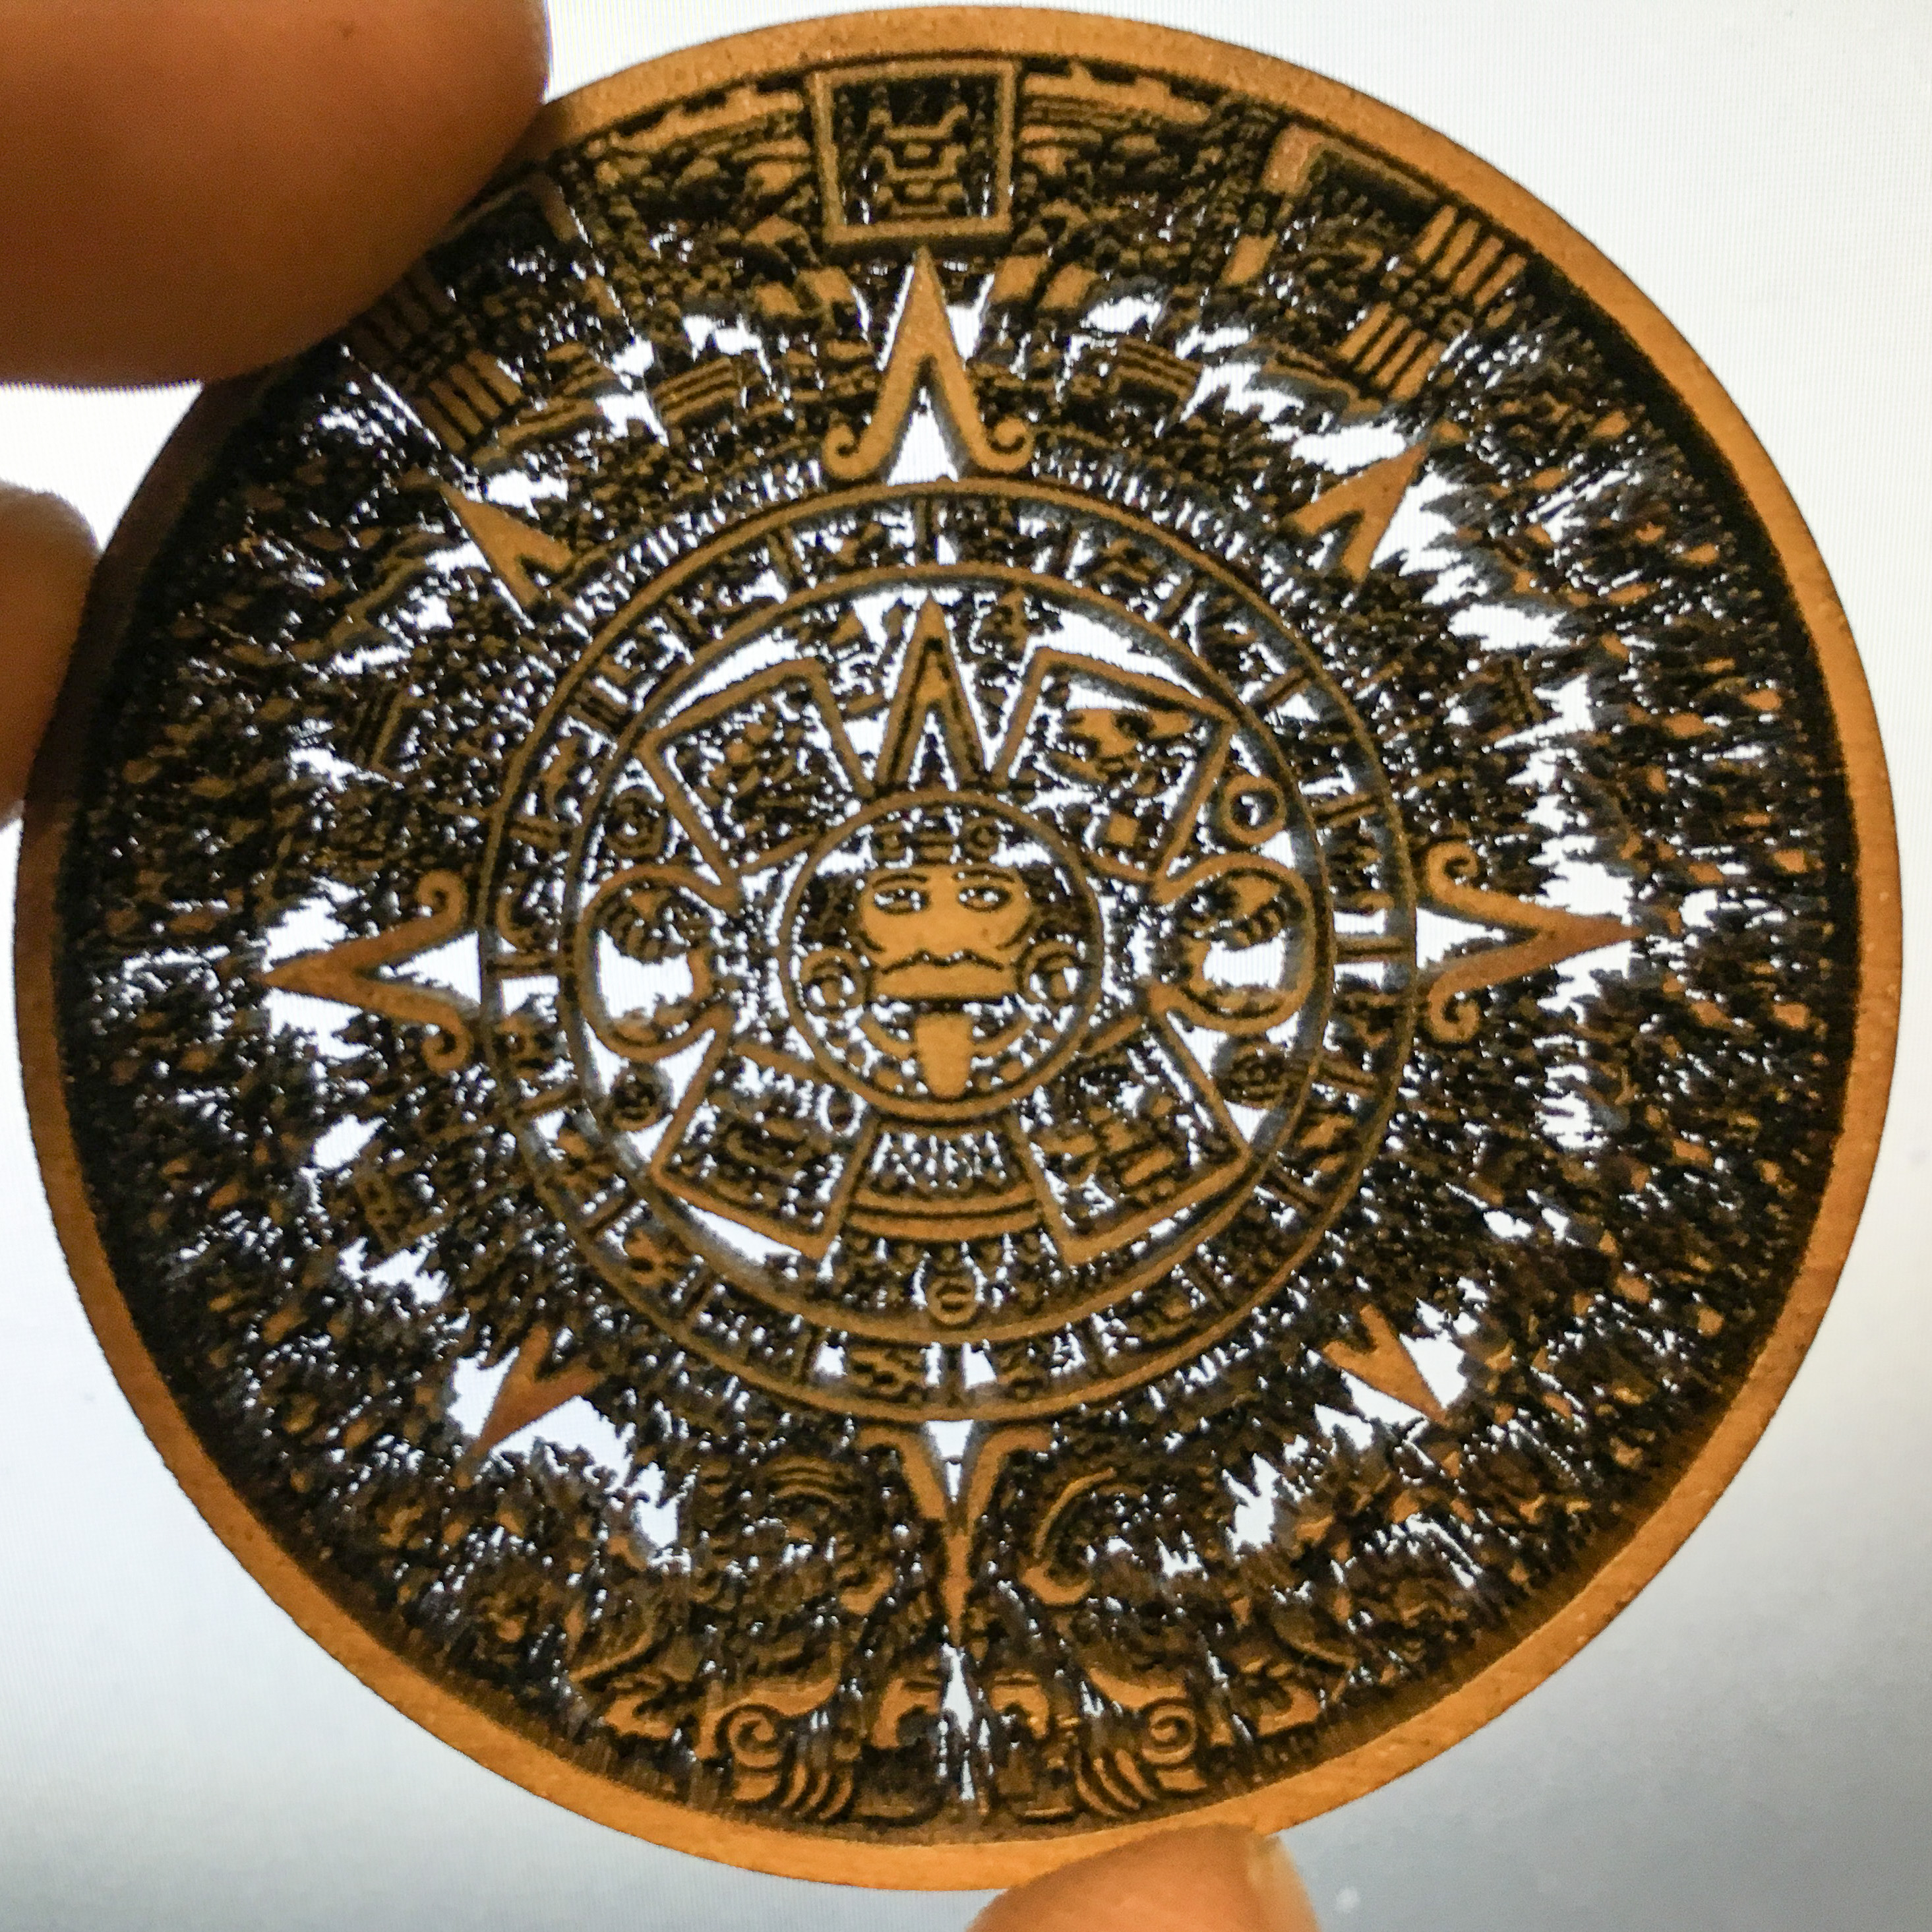
Since the laser always starts every job at the upper left corner of the rectangle that encloses the art, it’s not so easy to precisely place the laser head in the right place relative to the round coaster. To solve this problem, I created a simple jig. In CorelDraw, I added a vector circle around the outside of the raster artwork I wanted to engrave. I placed a piece of scrap material into the laser and engraved just the circle guideline on it. Then, without moving the laser head, I placed the coaster on top of the scrap and (after refocusing) centered it in the circle. I could then run the raster job and be sure the artwork would be lined up on the coaster just as I intended.

In fairly short order I was able to make a set of four coasters. With the simple jig the engraving is consistently centered so they look good even side-by-side.

Inkscape 0.91 available now

After a long development cycle, the developers of the excellent free vector drawing program Inkscape have just released a major new version, numbered 0.91. There is a good article about the updates available from Libre Graphics World and you can download the new software (Windows, Mac, or Linux) from Inkscape.org.

I’ve installed the new Inkscape on the computer attached to the laser. Just in case you should have trouble with the new version, the old version (0.48.4) is also still available.