
I found an inexpensive bamboo bowl at Daiso and decided to try it on the laser.
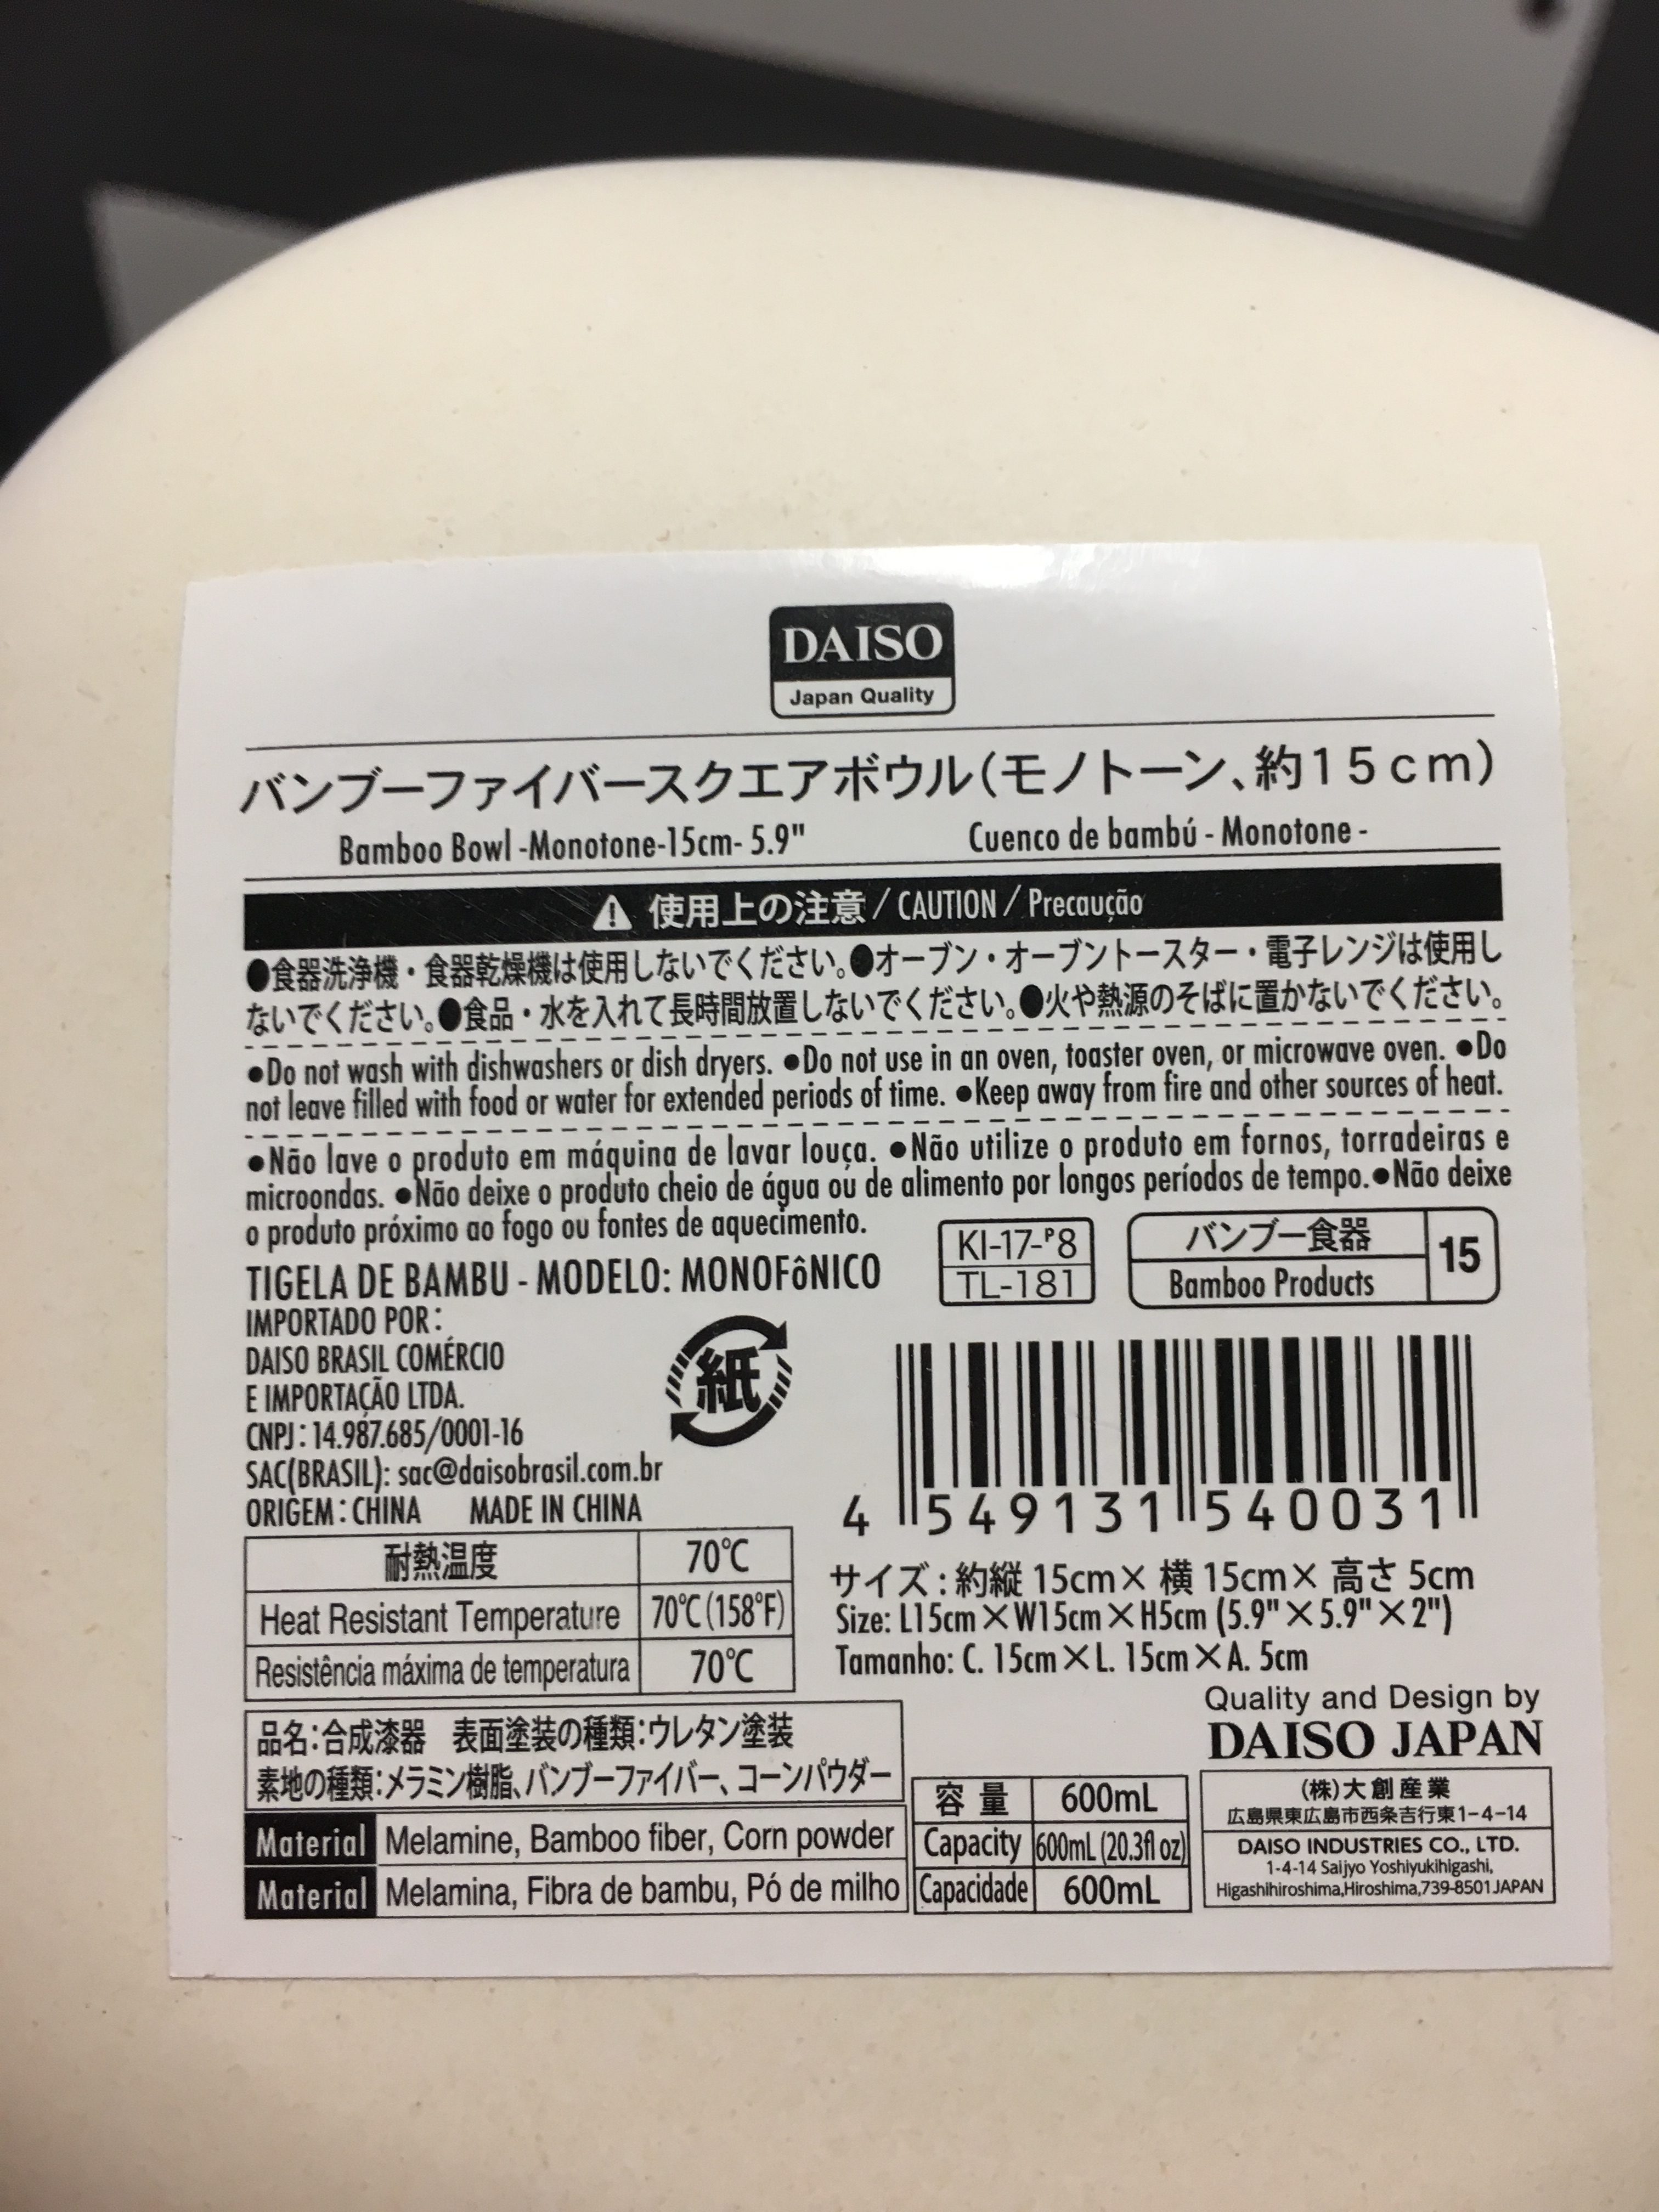
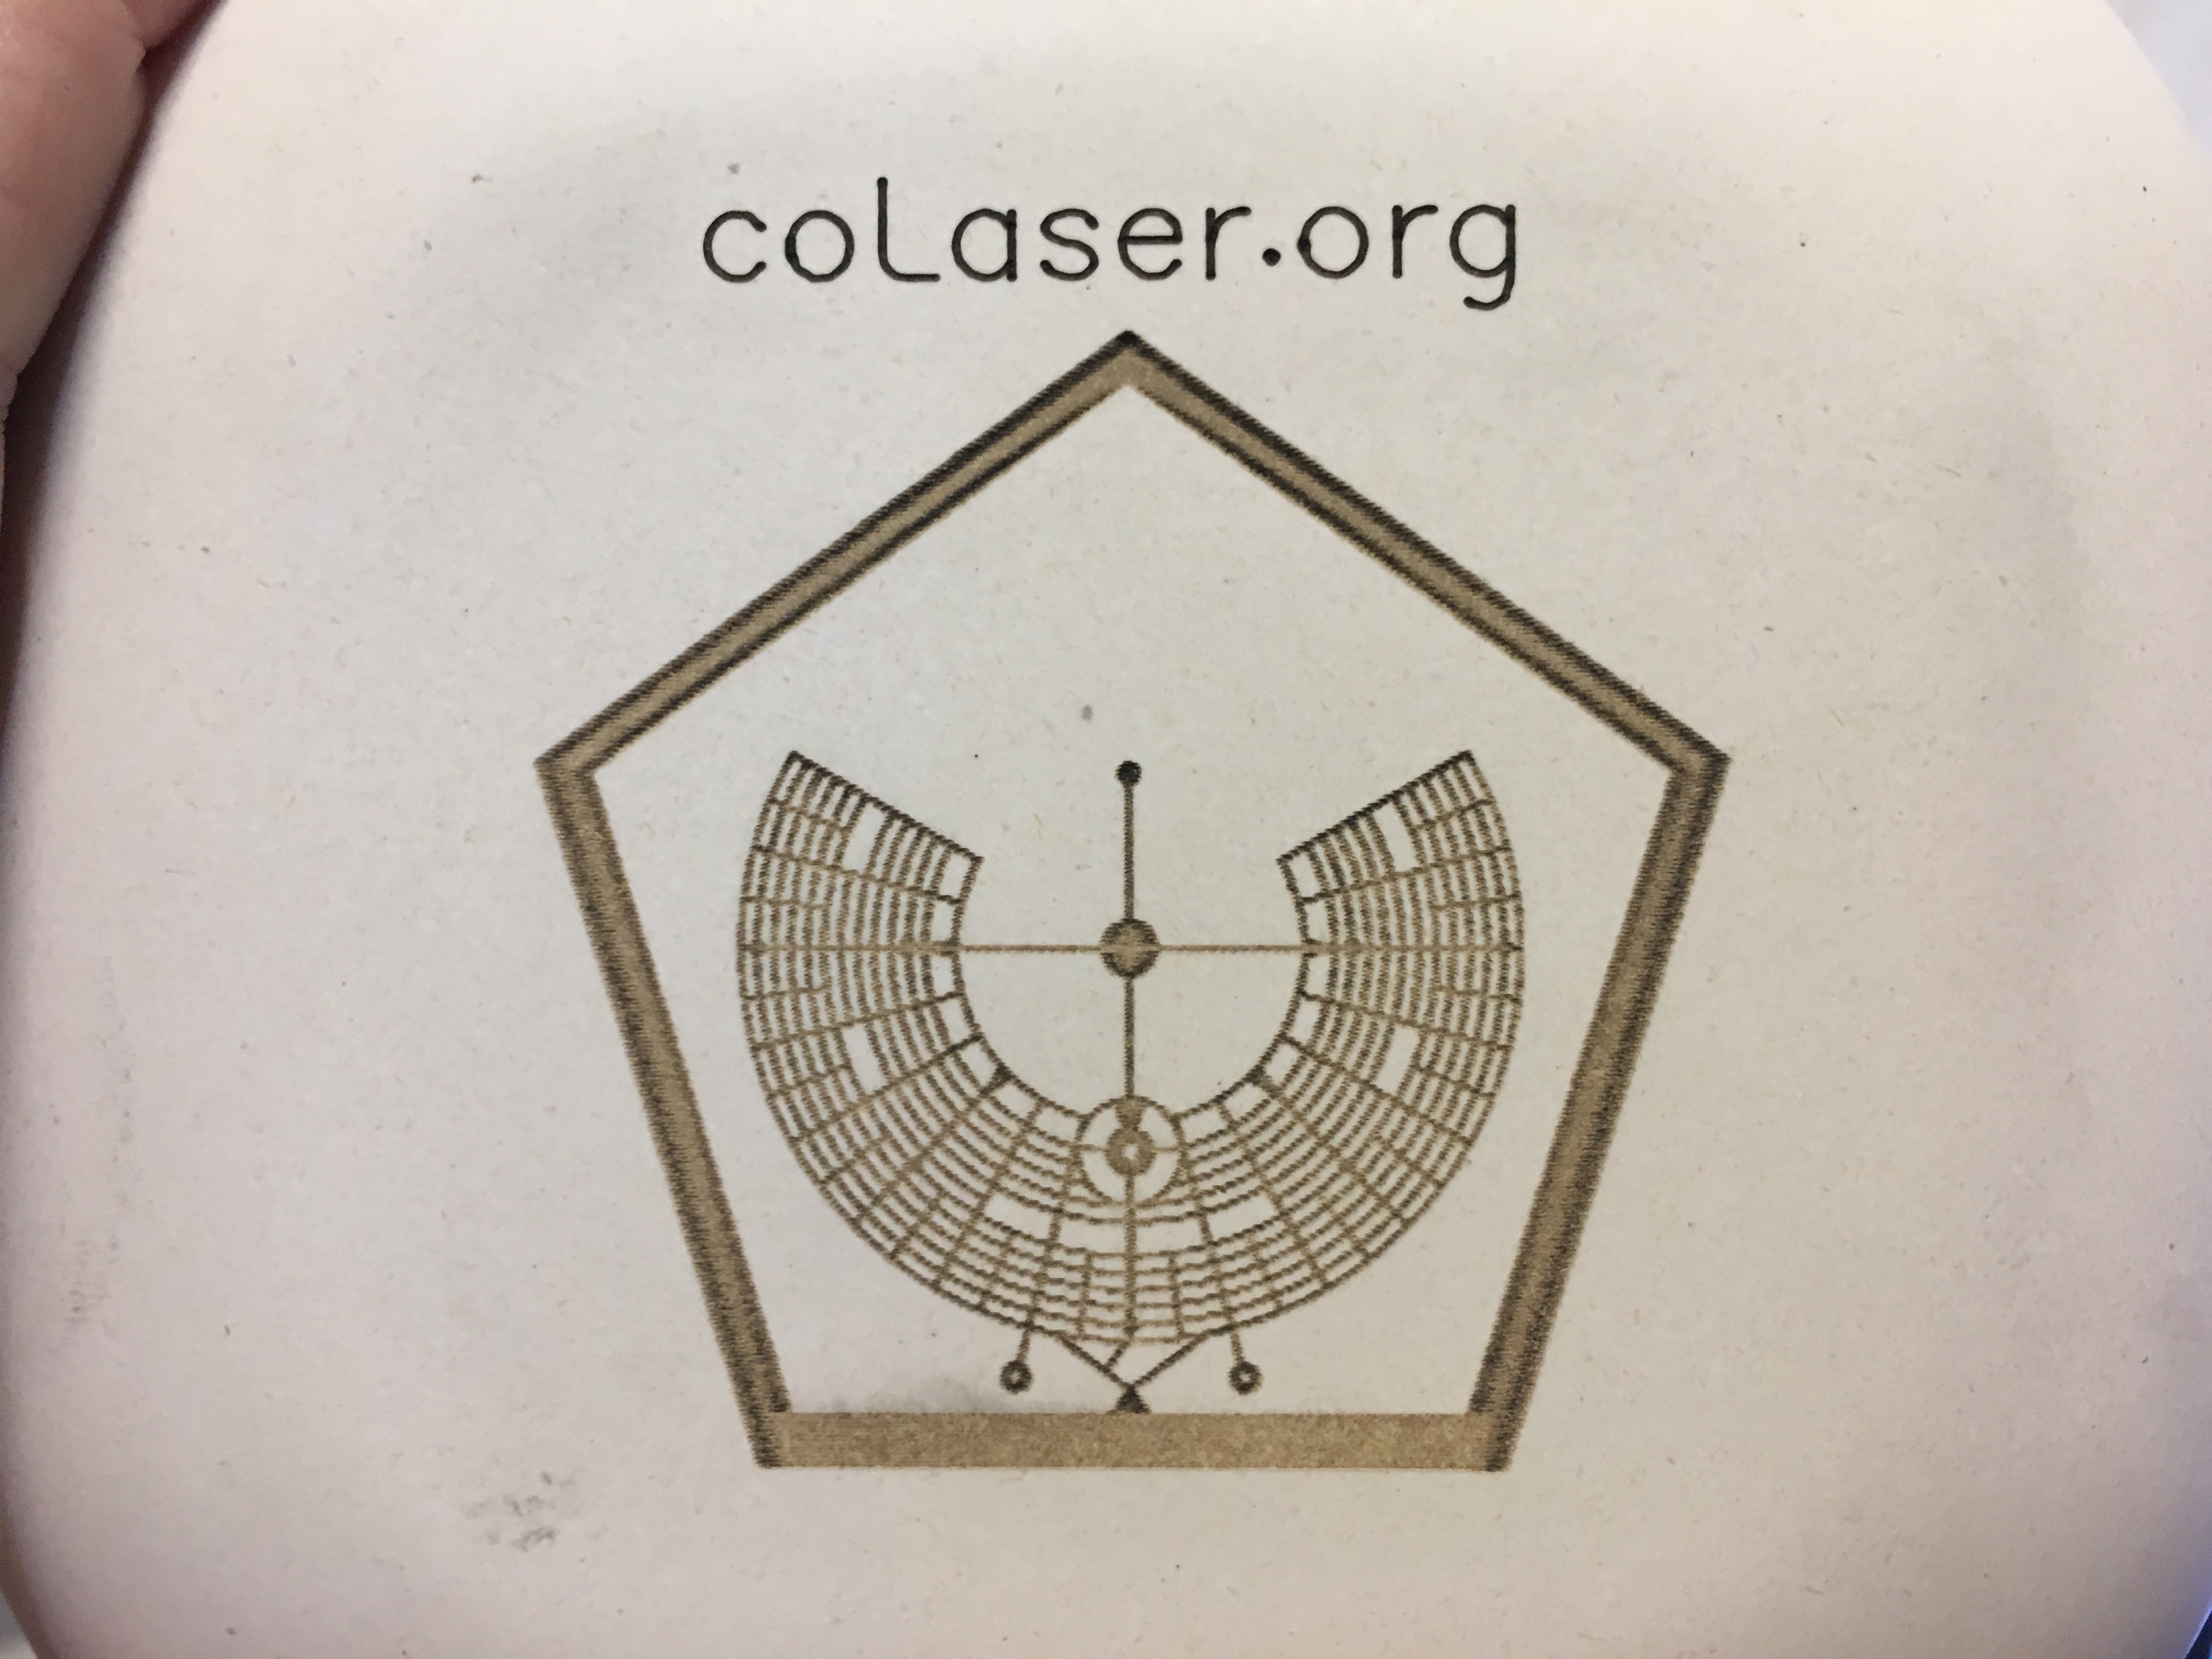
Here’s the label on the bottom of the bowl:
First I tried vector engraving. My guess was that it would take very little power to mark the soft wood, and that turned out to be correct. Here’s the result with vector speed at 100, vector power at 1, and vector current at 30%. Nice crisp letters, very black, quite shallow. Pretty good result.
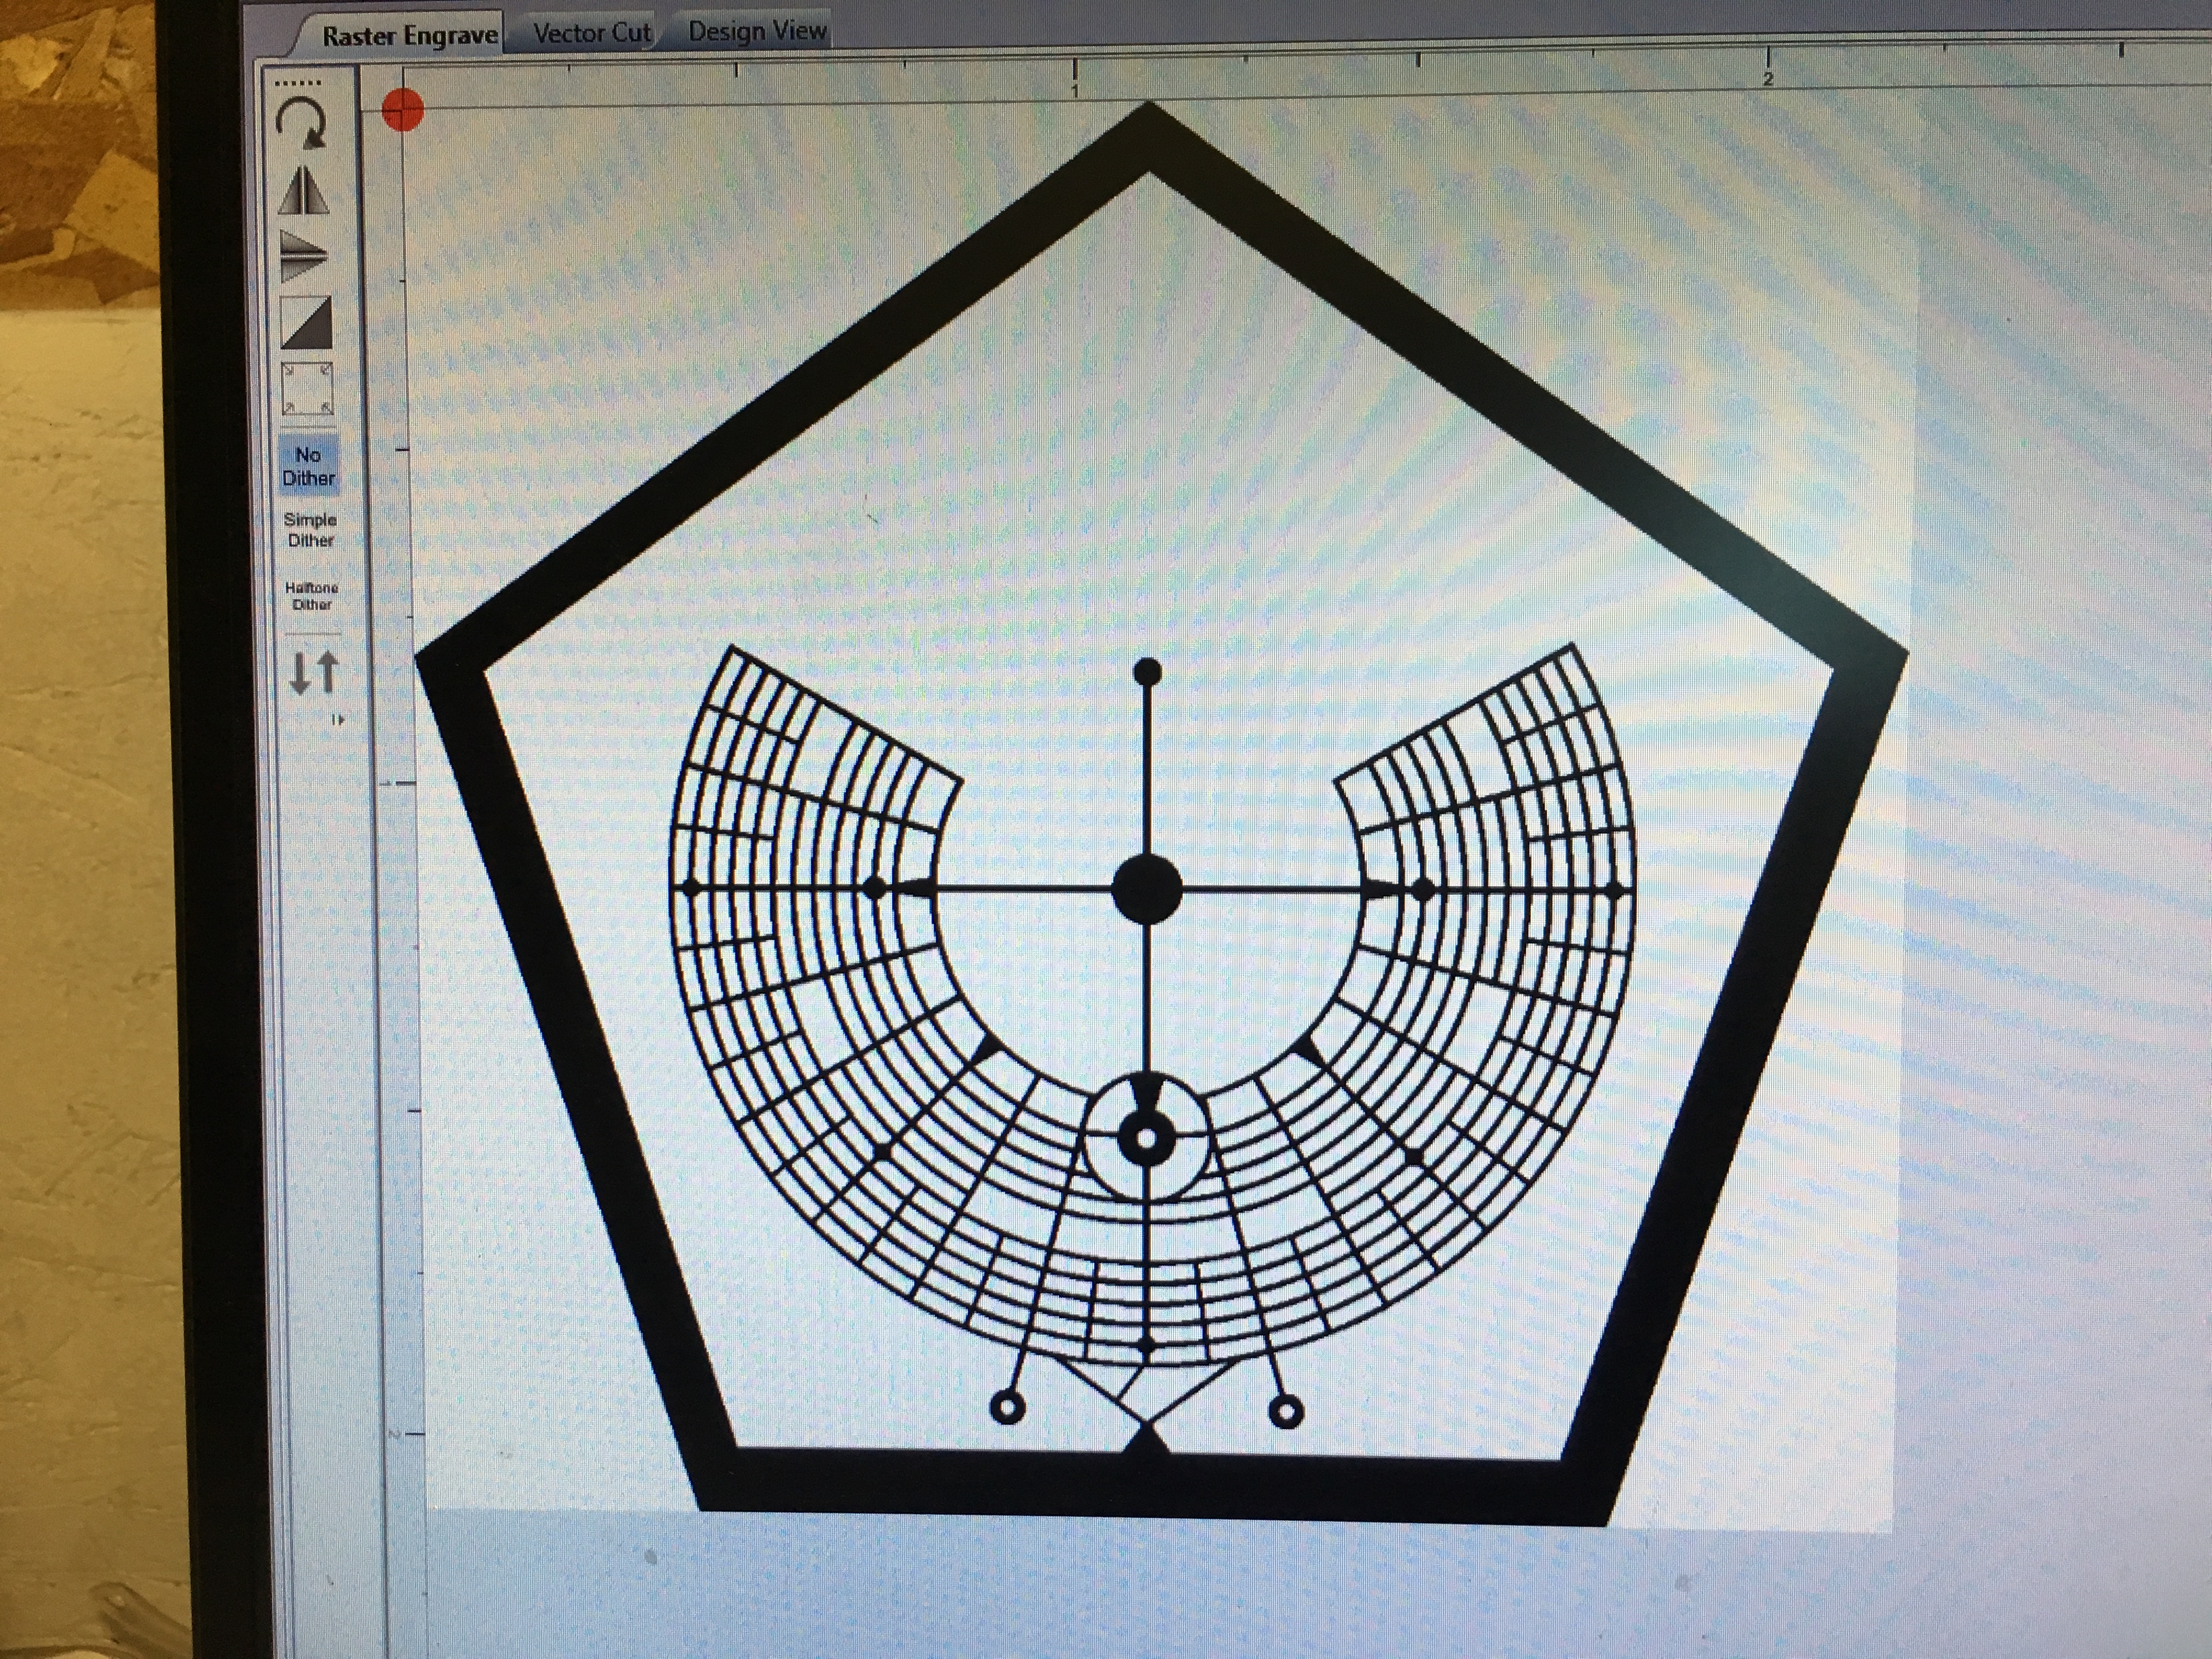
Next test was raster engraving. Here’s what my file looked like:
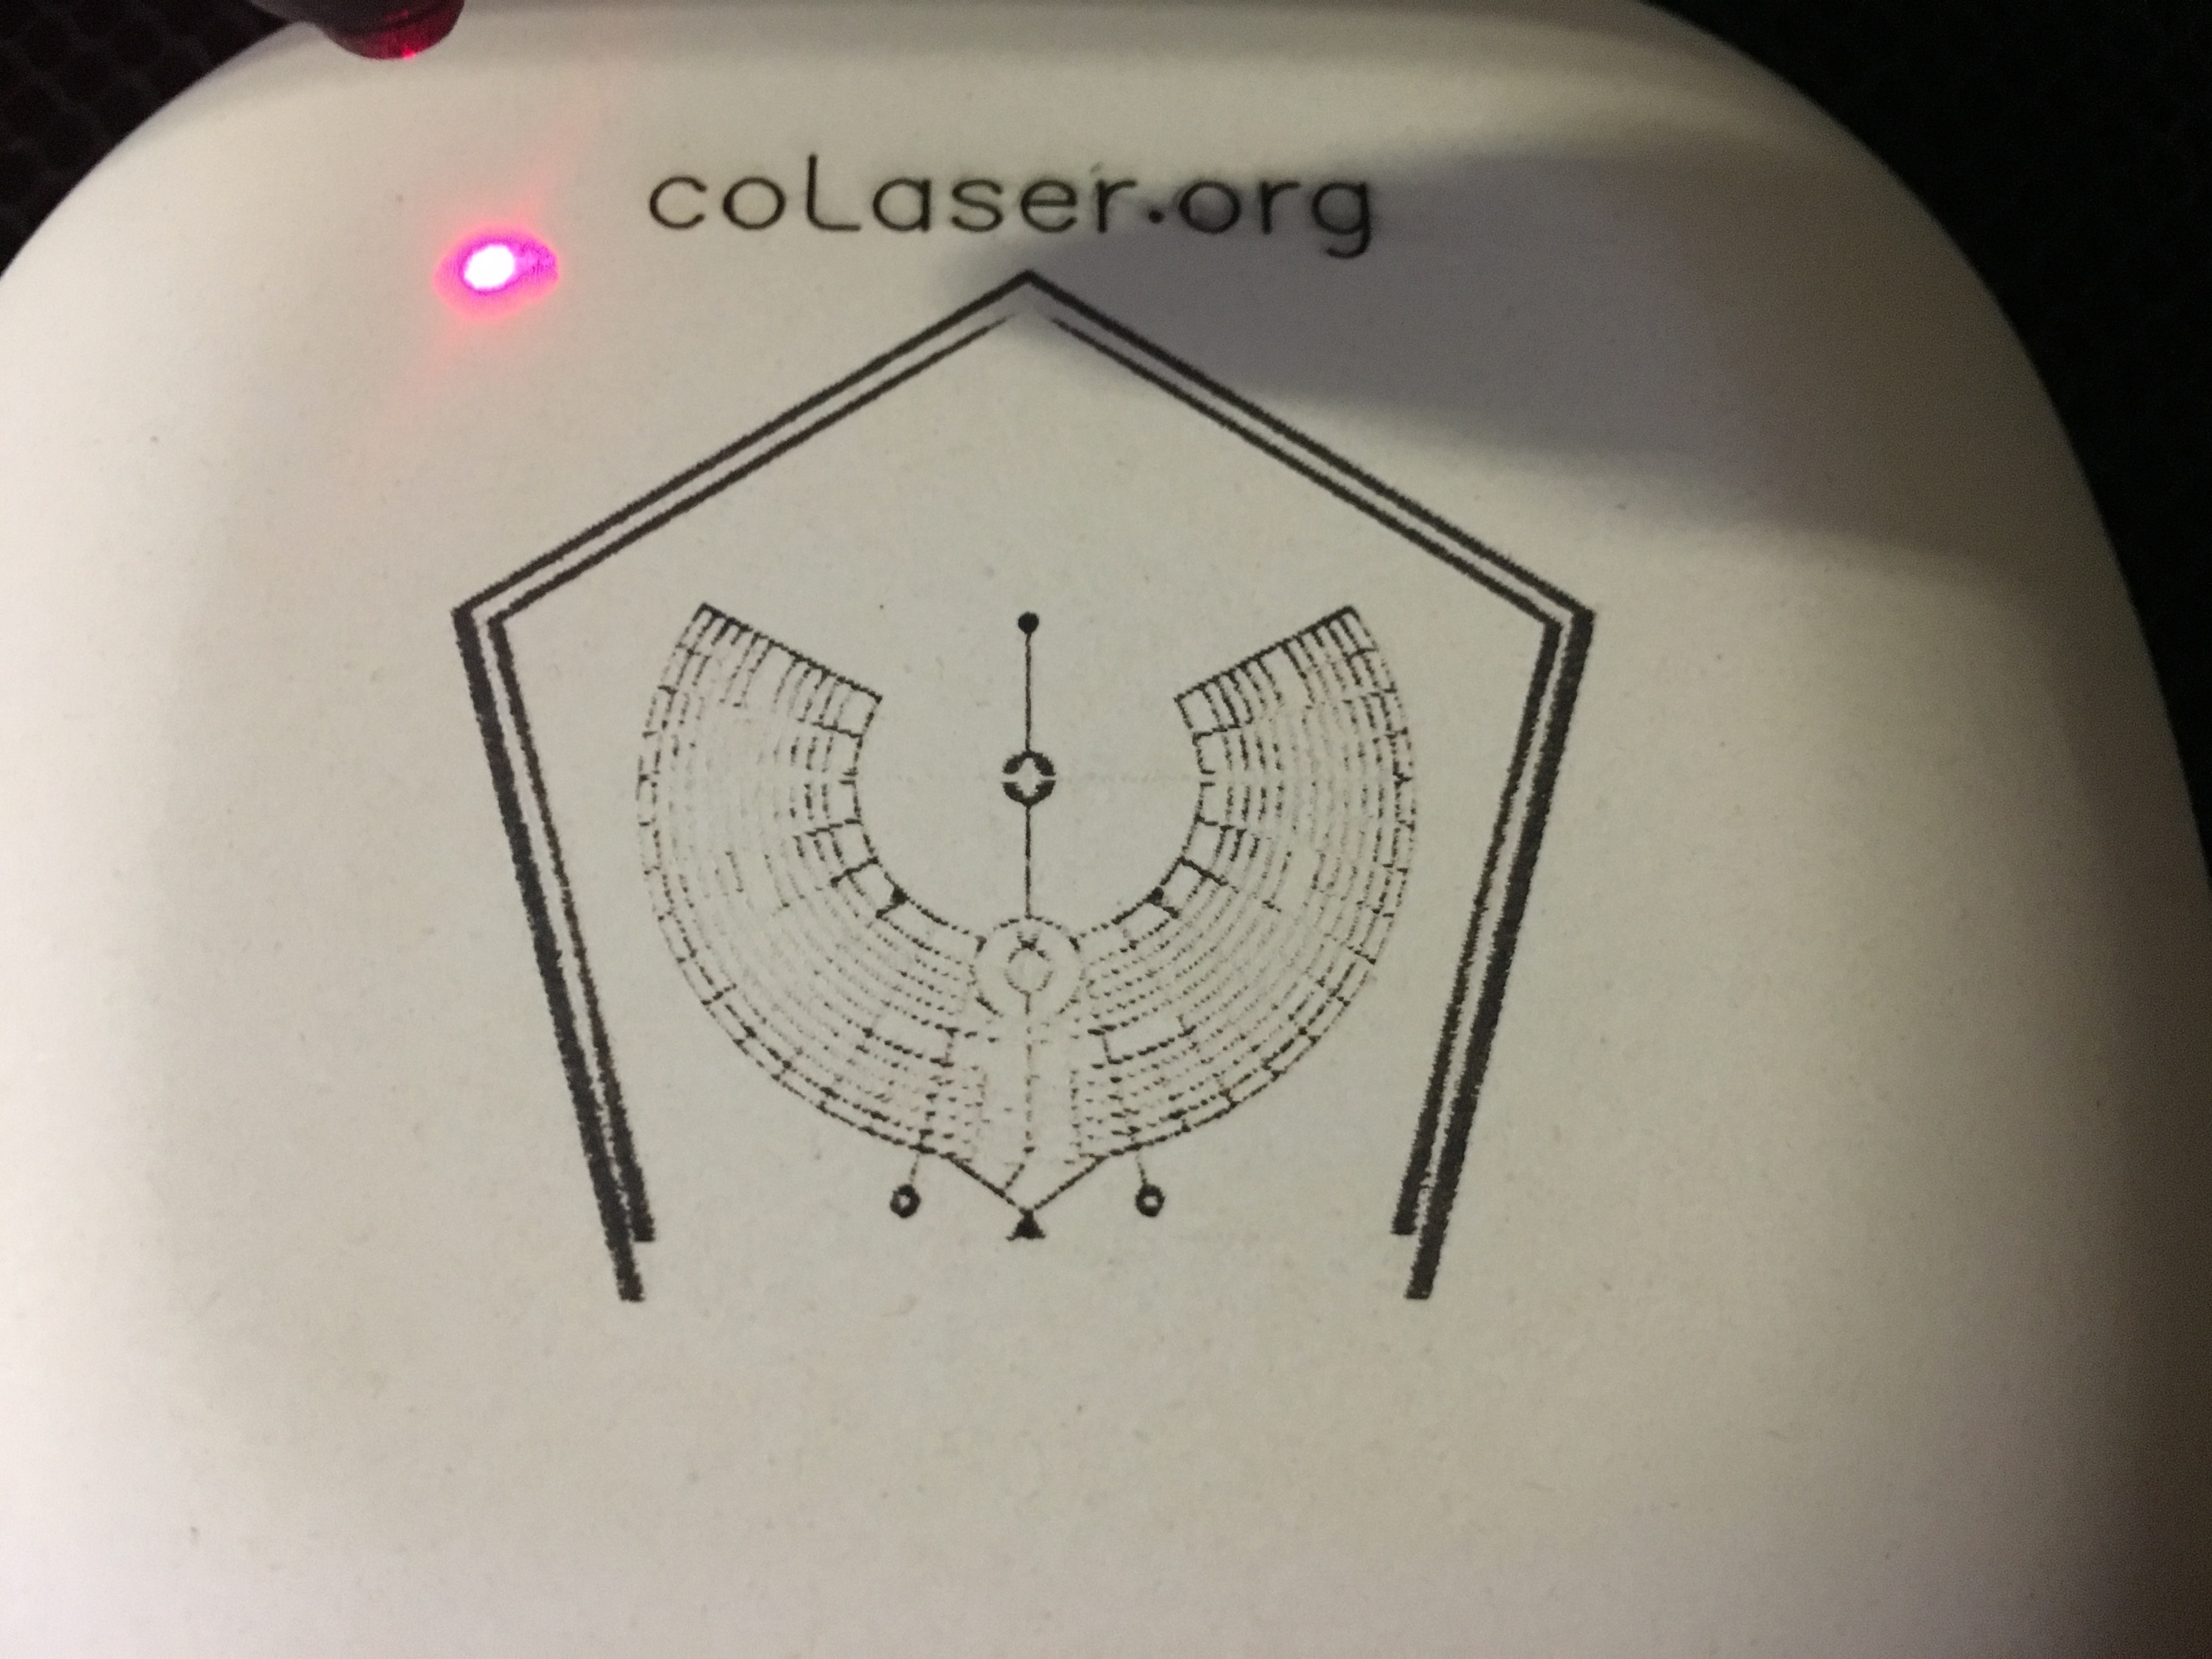
And here’s my first attempt. I tried a very low power setting again, based on the fine results from vector engraving. However, it wasn’t enough for raster engraving. You can see how the fine lines tend to fade out. Note how the fat lines have been broken into two lines, on the left and right edges where the laser turns on during rastering, and the horizontal fat line is missing entirely because it doesn’t get the turn-on pulse.
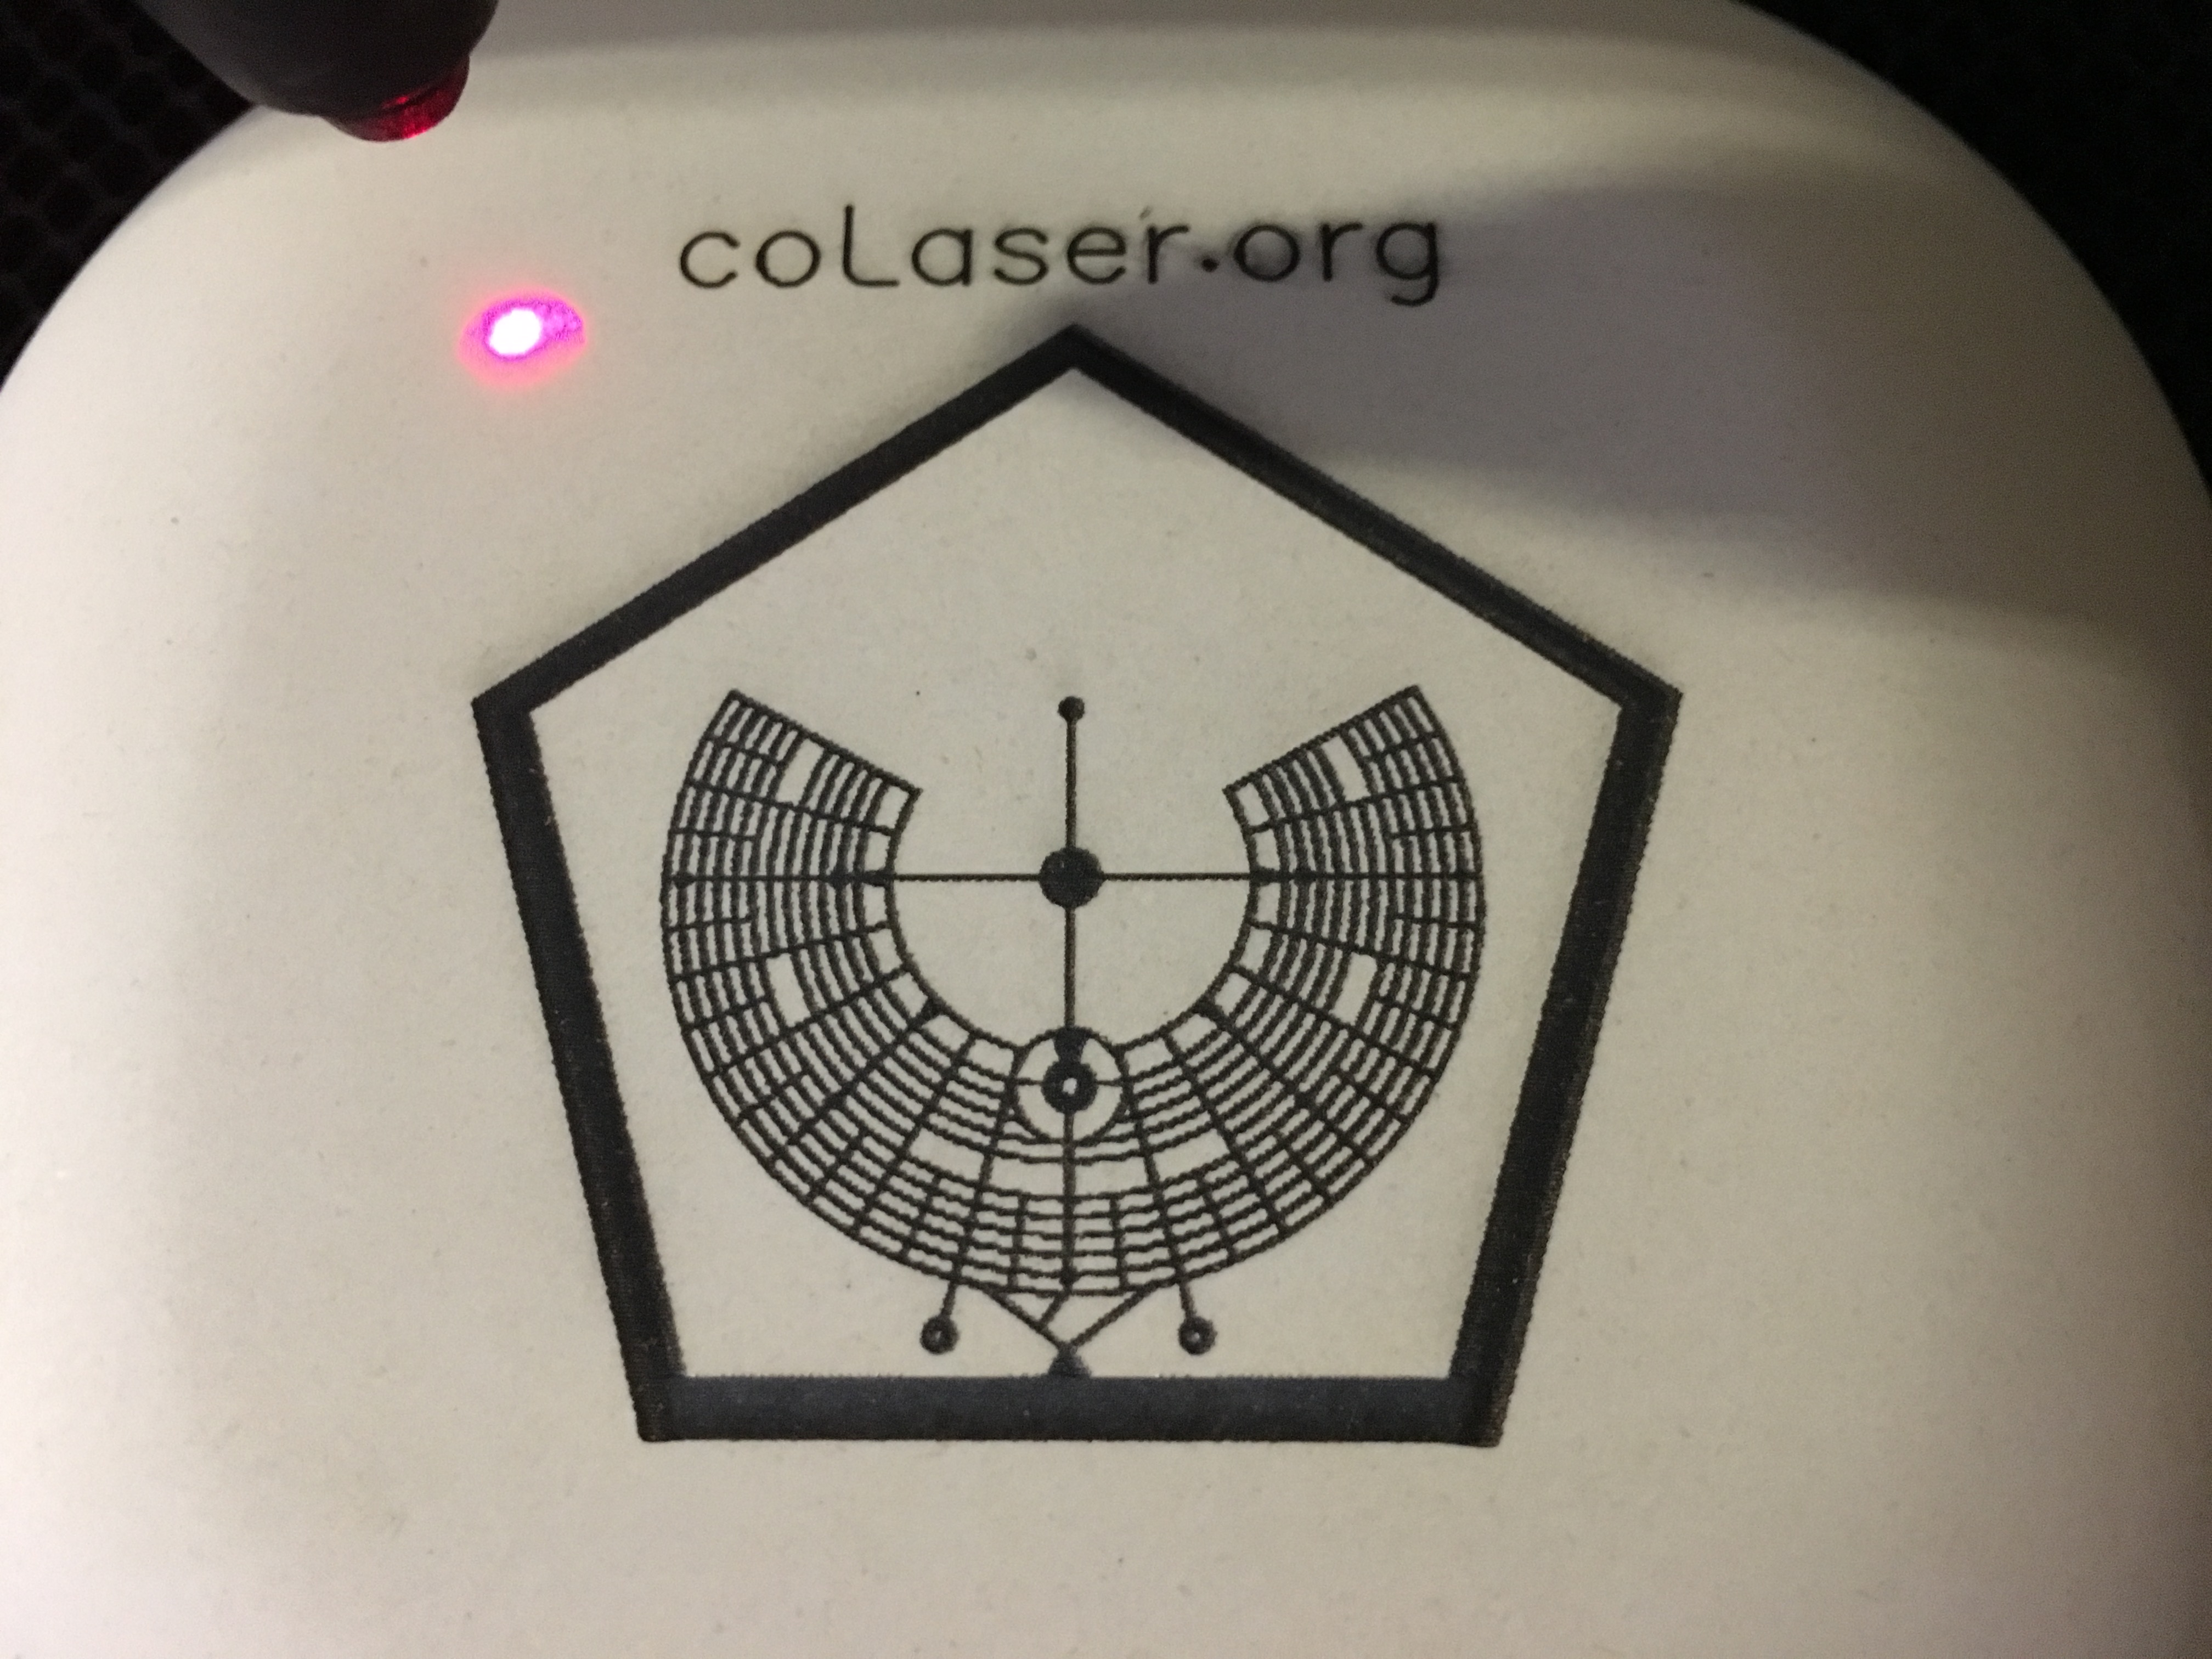
So, I turned the power up until the fat lines filled in. Here’s the result. The fine lines are nicely fleshed out and the fat lines are filled in, and everything is nice and dark. Very promising looking!
But then I wiped the bowl with a damp paper towel, and most of the black came right off, revealing an ugly core material that resembles cheap cardboard. This is not the effect I was hoping to get.
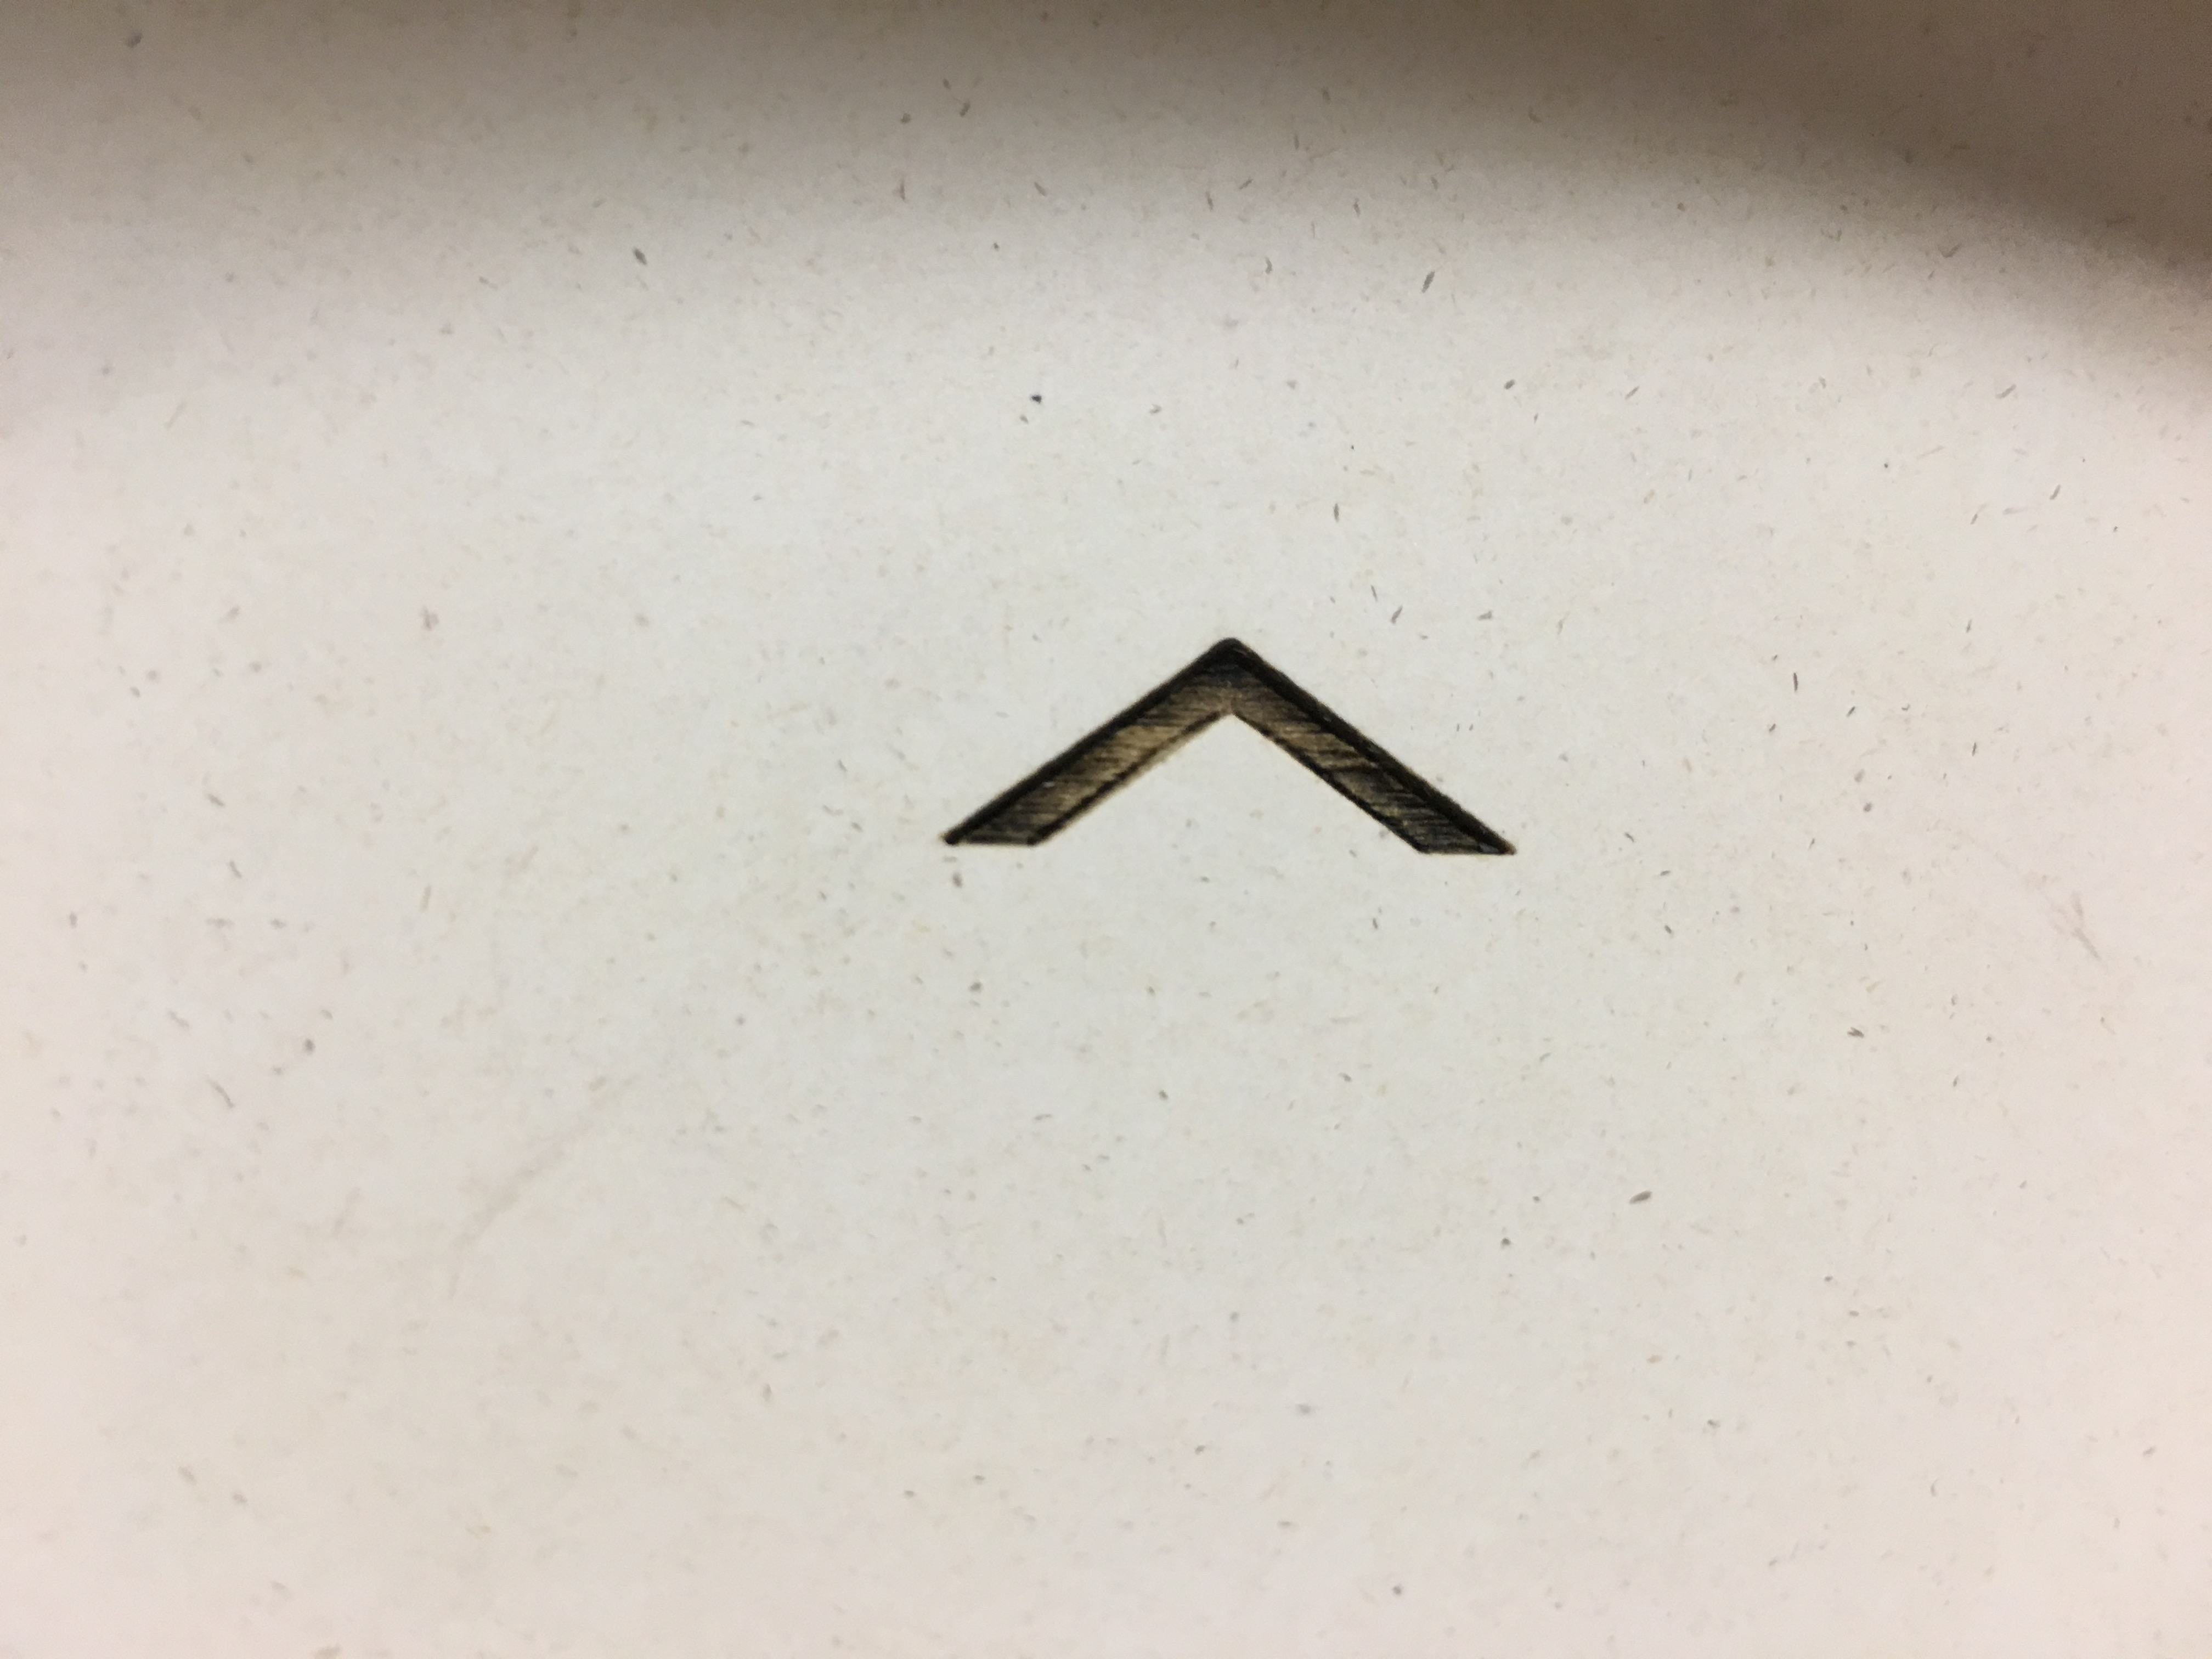
Even after wiping, there was some darkening in the places where the laser had the most effect, so I decided to see if I could get consistent dark engraving by simply turning up the power. I interrupted the test after it had engraved just the top of the pentagon. It was cutting quite deep into the bowl, and generating a lot of black debris on the surface.
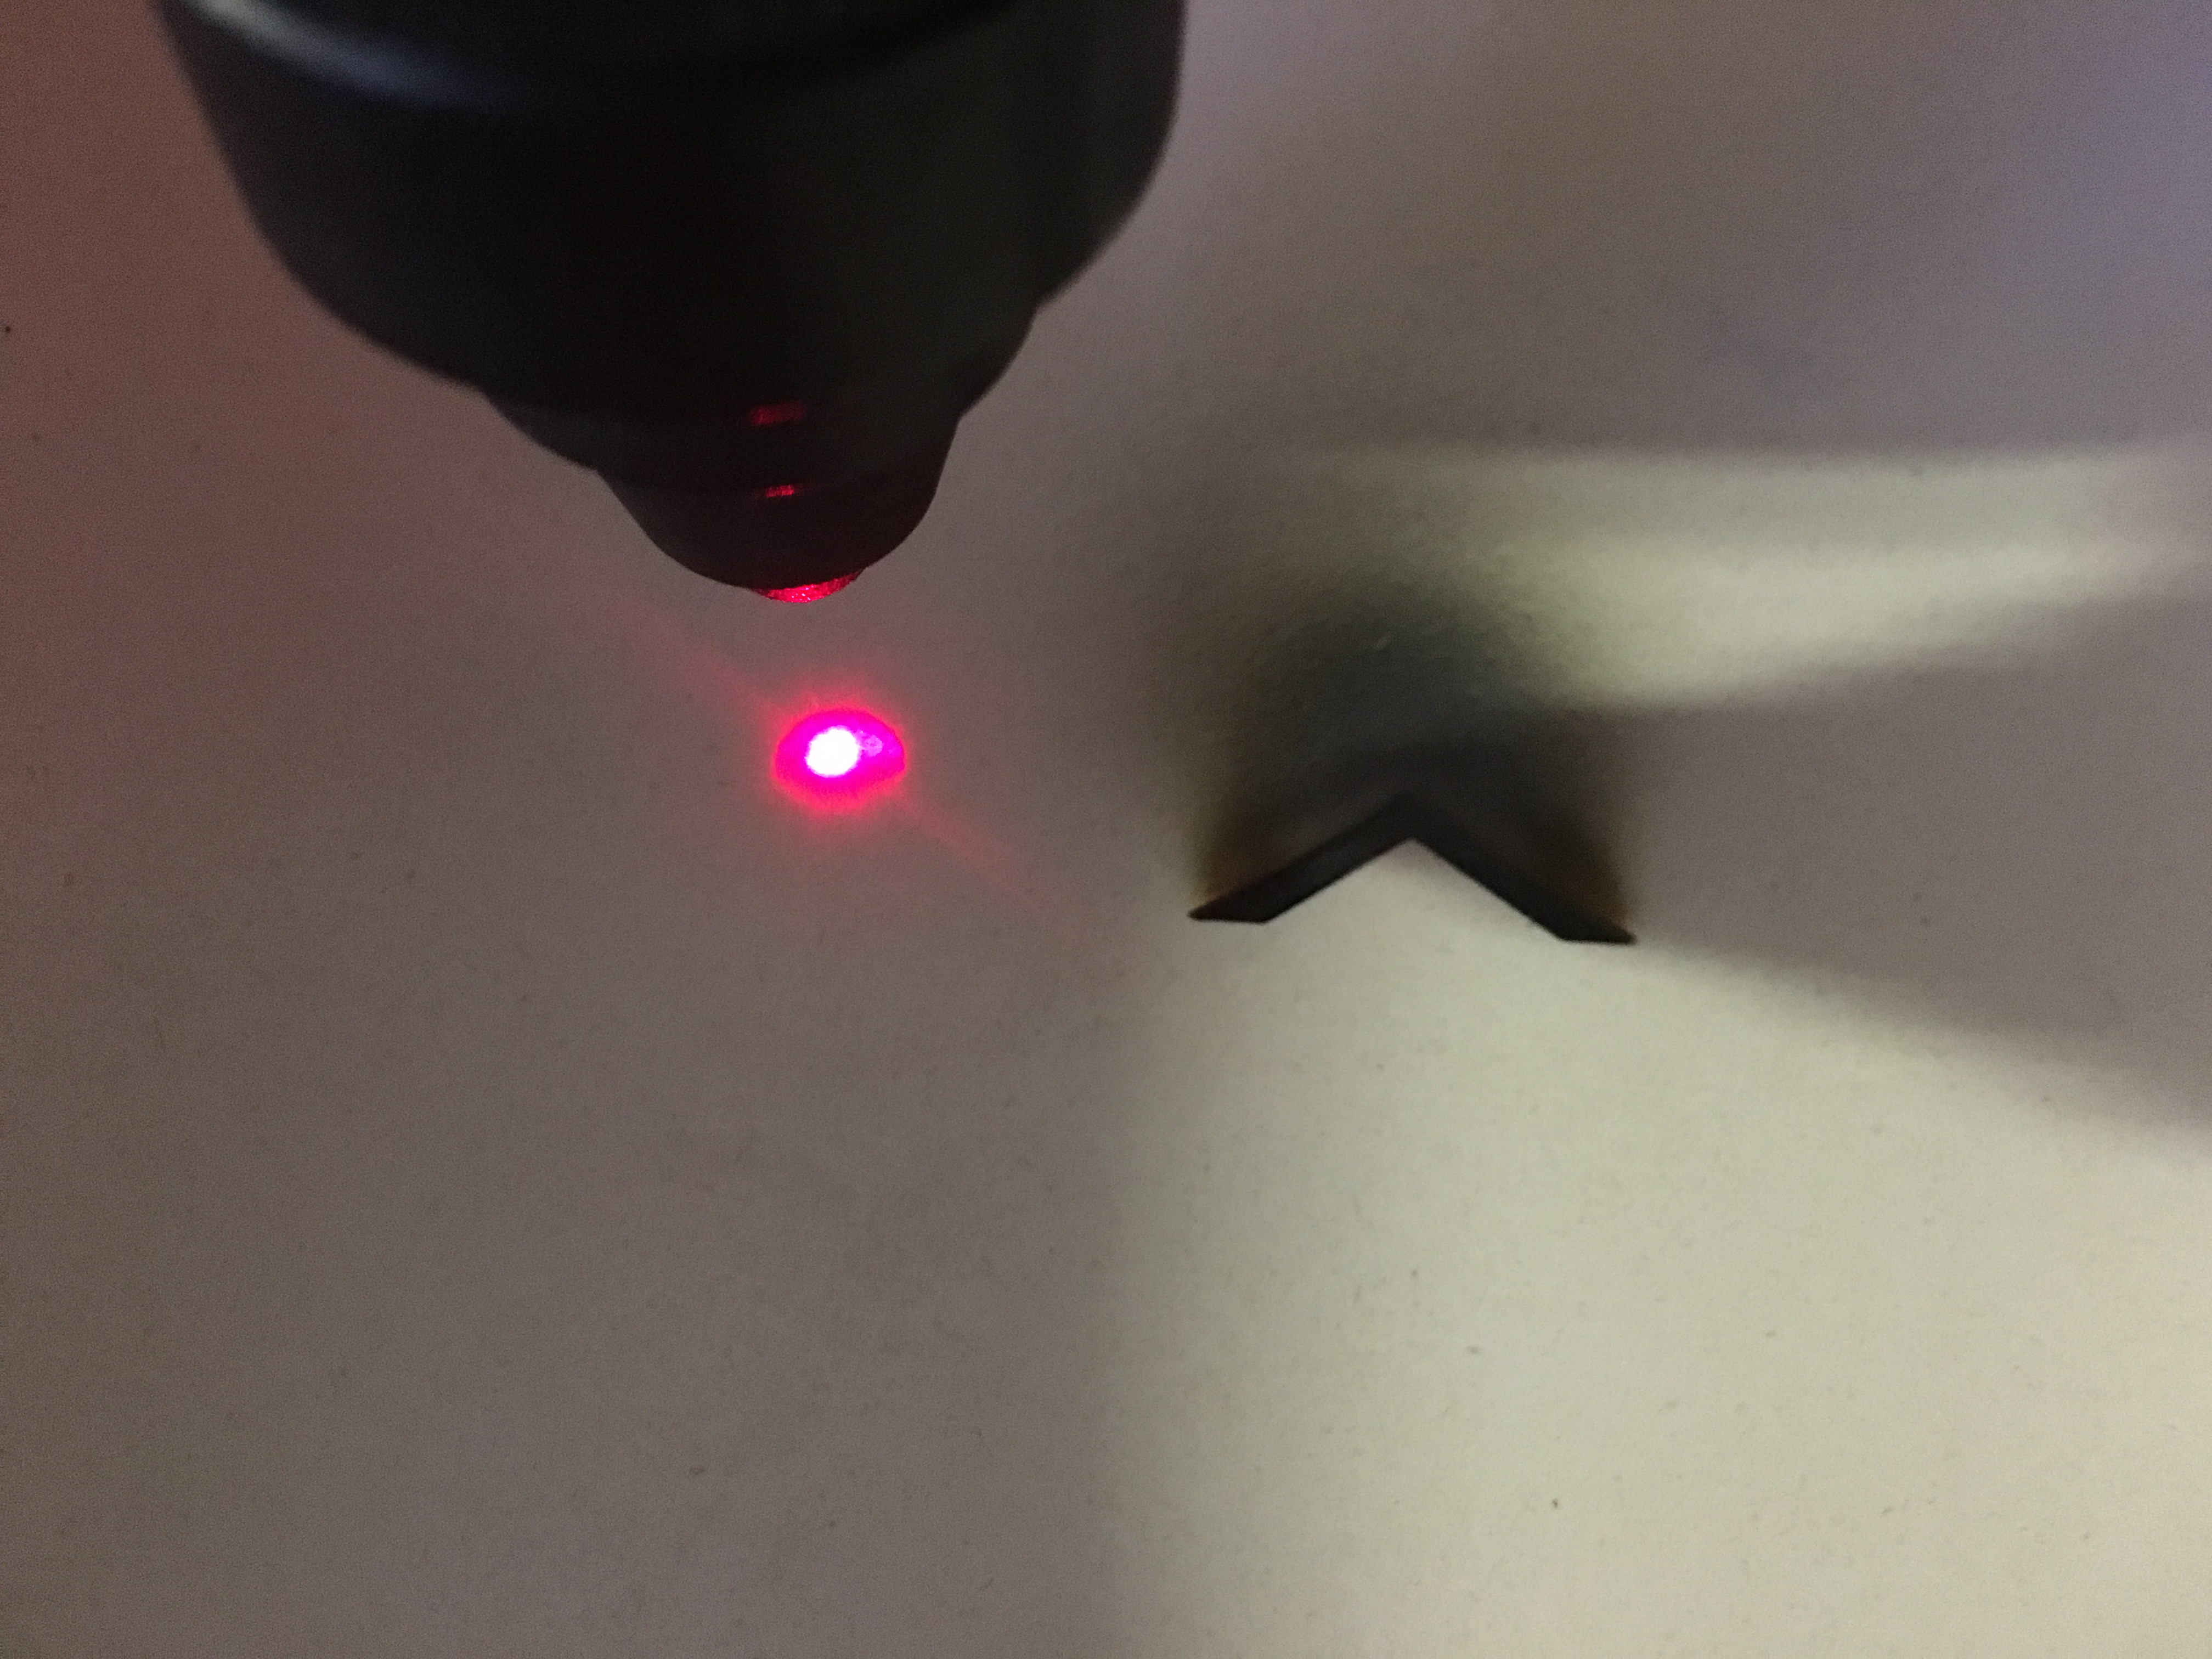
The debris wiped off easily, but so did a lot of the black material, even deep down into the cut.
I have to conclude that this material is not suitable for raster engraving, unless you really like that ugly cardboard finish. For vector engraving, it seems OK, but you probably need to make sure to use a very low setting, so as not to penetrate the thin outer layer of the material.
