We’re now running a new version of LightBurn software, version 2.1 or so. The folks at LightBurn Software have added a bunch of new features.
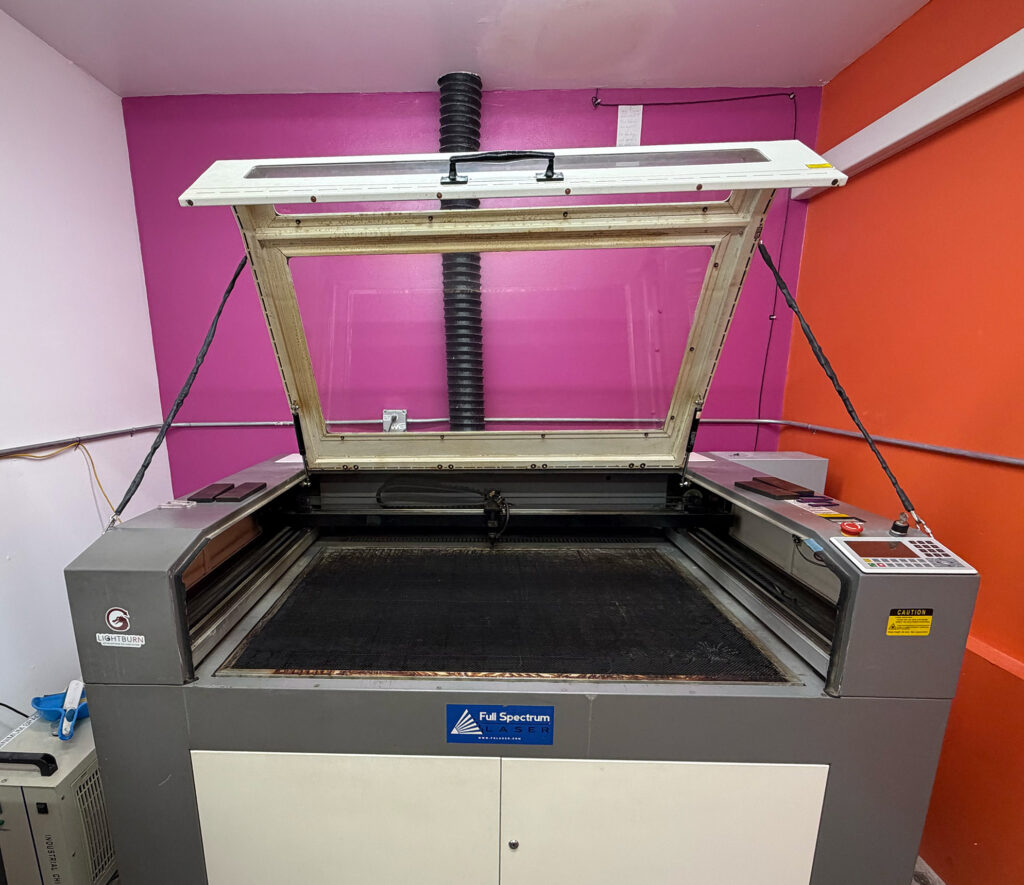
I updated the laser’s computer right before the laser class session yesterday, and we almost immediately ran into some new things. Mostly they were just cosmetic changes, but we did run into something that may be a bug of some consequence. It seems like there might be an error in the translation of old settings into new settings. There seems to be a new feature that involves automatically changing the table height at the beginning of a job. Assuming this is a new feature (I’ve never noticed it before), the value for the height change really ought to be defaulted to zero, so users aren’t surprised by the change. But instead the default had the table rising a fraction of an inch each time. Luckily, one of the students noticed and pointed it out to me, because I was oblivious to the table motion. Until we’re all familiar with any such gotcha features, we all need to be a little extra cautious and maybe spend some time looking at the advanced settings of our jobs before hitting Start.
I haven’t studied the release notes yet, except to see that they’re about 30 pages long, printed out. If you want to get started on absorbing the new features, you can go straight to LightBurn Software’s blog post, here: https://lightburnsoftware.com/blogs/news/lightburn-2-1-quick-nest-enhanced-camera-support-undo-history-and-more