The laser is offline for repairs. Replacement parts are expected to arrive on Wednesday, October 8, and if all goes well I’ll get them installed on Thursday. Apologies to those of you planning to use the laser in the next few days for last-minute YOUtopia projects.
In the photo gallery below, you can see the damage. The zinc selenide lens has a hole blasted in it, and most of the surface of the final mirror (a few inches above the lens) has been ruined, with the worst damage in one localized area. These parts need to be replaced (about $300). Besides that, there’s a notch out of the aluminum mirror holder at the top of the cutting head. That won’t cause any problems, as far as I know. There was also a coating of reddish powder on the inside of the tube between the mirror and lens, which I presume to be oxides of the material blasted out of the lens.
I am not sure exactly what happened. Clearly, the laser beam itself did all this damage, but what went wrong first, and are all three types of damage the result of the same sequence of events? I don’t know. There are basically two things that can go wrong: gross misalignment, causing the laser to hit the holder instead of the mirror, or crud on the mirror and/or lens. I didn’t find any gross misalignment when I checked, so I suspect there was crud on the mirror and lens.
If there was crud on the optics, it was probably a build-up of smoke deposited by burning plywood.� If there’s crud anywhere on the optics when the laser passes through, it gets hot, possibly burns, and damages or destroys the optical surface it’s on. Once the optics are damaged, the laser beam can bounce around unpredictably and cause additional damage. Once the surfaces are no longer pristine, the heat left behind by the laser beam causes the damage to accelerate quickly.
Put this down as a lesson learned about keeping the laser’s optics clean. I will try to do more preventative maintenance, but every laser user needs to be aware of the issue. At the beginning of your laser session, shine a flashlight at the mirror in the cutting head (look sideways at the left side of the top of the head) and see if there’s any visible crud on the mirror. If you see any, you can clean it (if you know how to clean it without causing damage!) or stop and report the issue.
If you end up making a lot of smoke during your laser session, please inspect the mirror again at the end. Make a note in the log. Post a note to warn the next users. Let me know if the mirror needs cleaning.
Unfortunately, the lens can’t be inspected without taking things apart, so I don’t recommend you do that routinely.
If you notice the laser isn’t behaving as expected, please let me know directly. Email is best (my address is on the wall). Make a note in the log book, too. Sometimes we can catch a problem and fix it before it causes permanent damage to the optics.
-
-
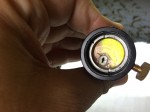
The ZnSe lens in its holder. It’s not supposed to have a big hole blasted in it!
-

-
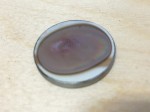
The ZnSe lens out of its holder. Besides the big hole, you can see it’s broken in multiple pieces.
-
-
This is the mirror from the top of the cutting head. The big oval blotch that covers most of the area is not supposed to be there; it’s all supposed to look like the shiny ring around the edge.
-

-
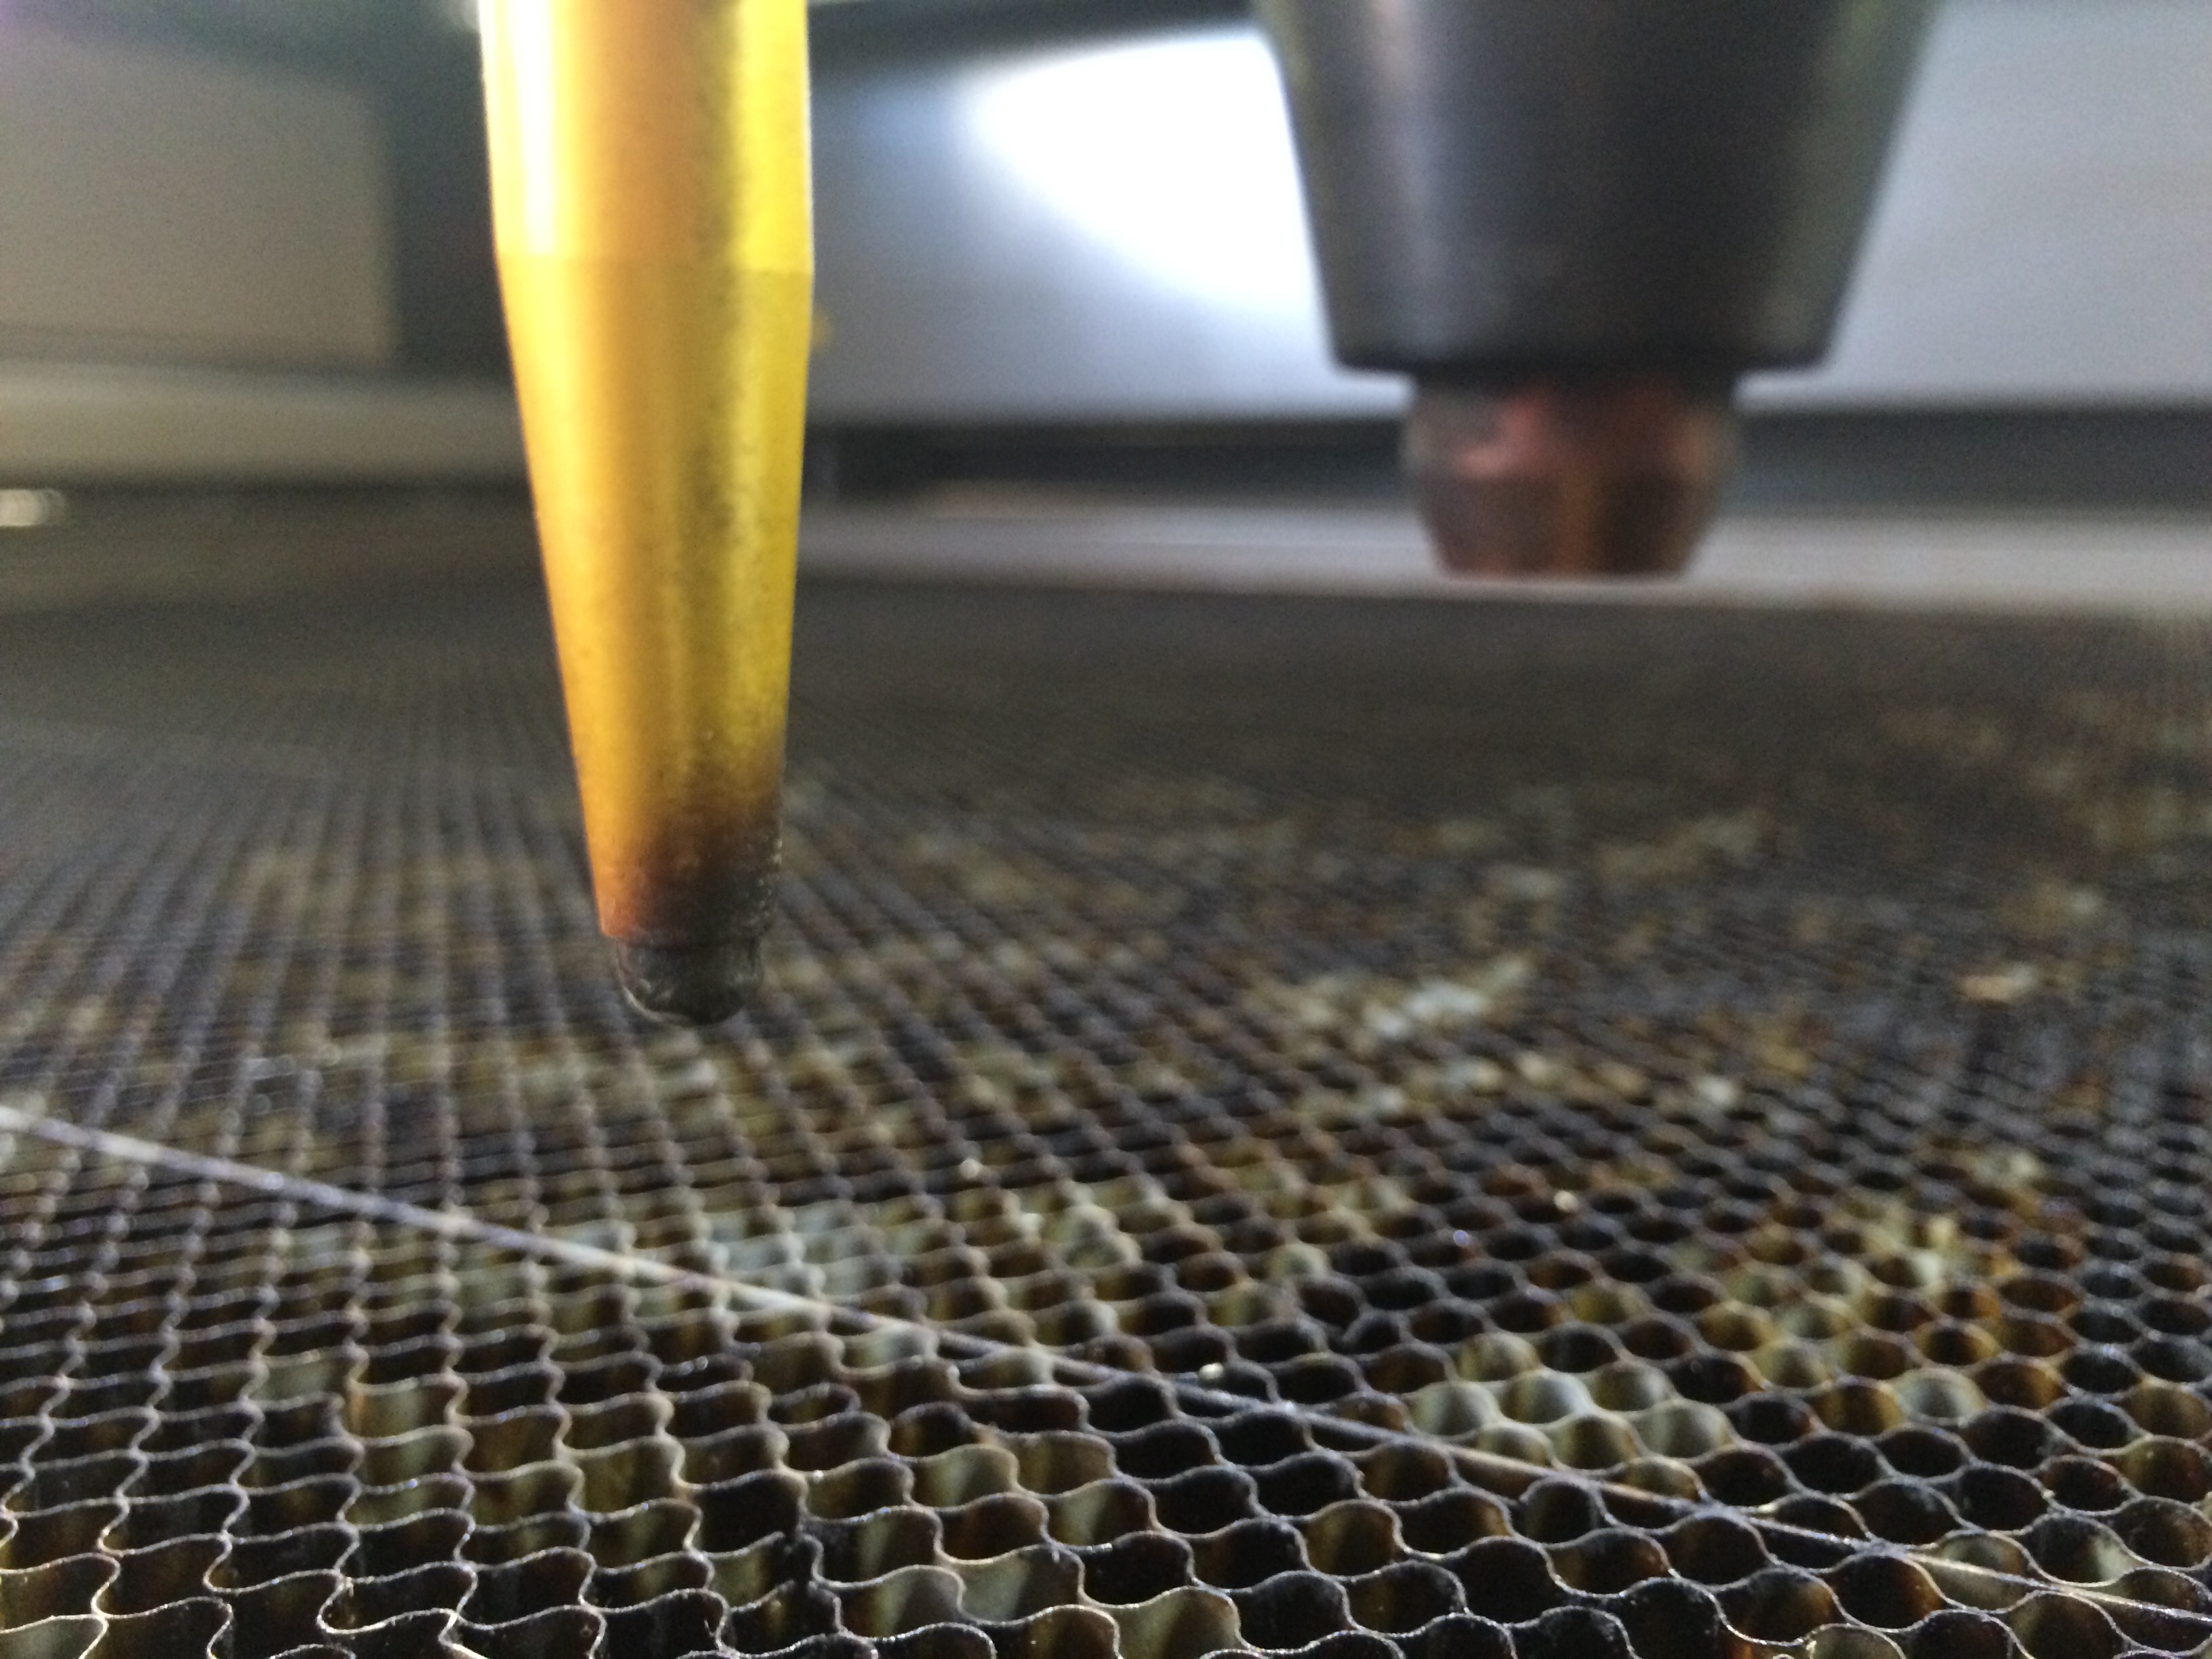
This is the top of the cutting head, looking in from the side where the laser enters. The notch in the upper right is not supposed to be there.