
Work is underway to add a camera to our laser. The camera will be installed on the underside of the laser’s lid, looking down onto the bed. After you’ve placed your material on the work bed of the laser, you’ll click the camera icon. This will take a snapshot of the bed with the material placed, and make that snapshot the background in the drawing area of the Lightburn software. It will then be easy to draw your design right on the image of your material, without having to fiddle around with aligning your material with your drawing. This has proven to be a nice convenience on newer model lasers that come equipped with a camera, so we can expect it to be helpful when added to our laser, which is now almost twelve years old.
For this to work well, the camera has to be in the exact same 3-dimensional position every time it’s used as when it was installed and calibrated. Our laser’s lid wasn’t originally designed with this requirement in mind, so I’ve made some modifications. Our laser already has an upgraded hinge, because the original hinges kept breaking. I replaced the four tiny cast aluminum (!) hinges with a beefy steel piano hinge running the full width of the lid. This hinge has very little mechanical play, so the camera’s X axis is well defined, as is the distance from the hinge pin to the camera. That just leaves the angle of tilt of the lid when it’s open.
The lid has pneumatic lifters, one on each side. These make it much easier to lift the heavy lid, and they keep the lid up after you’ve lifted it. However, the lifters get tired over months and years of use, and the open angle of the lid begins to droop. My idea for coping with this problem is to add cables, one on each side of the lid, that constrain exactly how high the lid can be opened. The pneumatic lifters will push against the cables to reach the same maximum height every time.
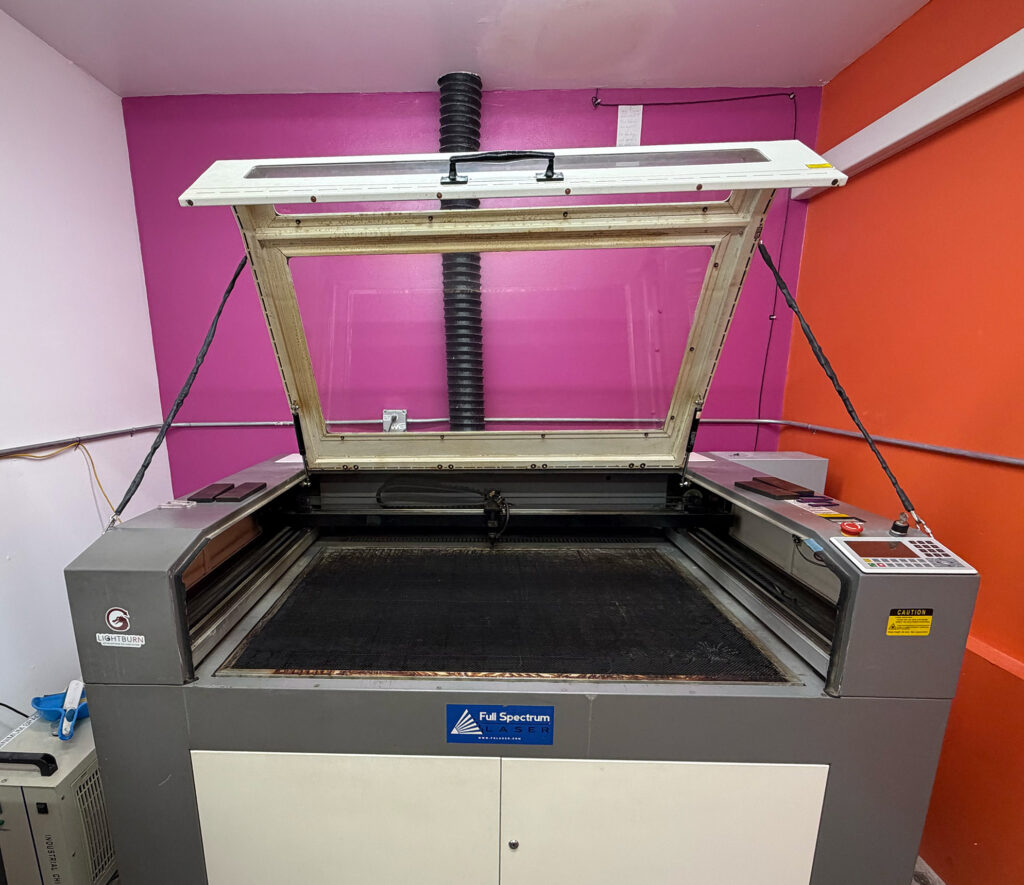
The cables are made out of eighth-inch stainless steel wire rope, with standard hardware, including a turnbuckle to allow each cable to be adjusted in length. Because the wire rope has sharp ends in multiple places, I’ve encased the wire rope and most of its hardware in a protective plastic sheath. A carabiner at each cable end then clips to a screw eye installed in the lid or chassis. Here’s what that looks like today:
Camera installation and calibration will be the next step.