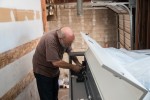
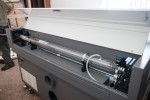
A bit more progress to report. The dedicated computer is installed. I did an inspection of all the laser’s components and planned out the rest of the tasks for hook-up. I want to put the water chiller near the far wall, to keep it away from you when you’re working at the computer. Unfortunately, all the hookups for the chiller (water hose in, water hose out, and a status signal cable) are on the left side of the laser chassis, and the provided hoses and cable are not long enough to reach to the right side. I’ll have to make longer ones.
-
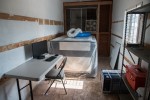
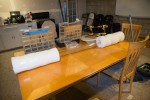
- The laser’s dedicated computer is now set up in the lab. And that new box on the right? That’s an air conditioner for the lab!
-

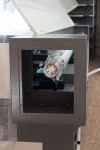
- The blue box is the high voltage power supply that makes the laser lase.
-

- This section contains the driver modules for the mechanical positioners. The larger one at the top is the Z axis, which raises and lowers the whole work table beneath the fixed laser. The other two drive the X and Y position of the laser head.
-

- At the top is a filter that isolates the high voltage power supply from the rest of the electronics. Below are three other power supplies for various purposes.
-

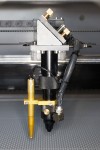
- This is the RetinaEngrave3D controller board by Full Spectrum Laser. It’s the brains of the laser. The blue cable on the left is Ethernet to the external computer, and the black cable is USB (probably just for the 5V DC power). The other connectors handle all the other devices in the laser chassis.